Perfect for little hands, big hearts, and making memories that last.
Finding the perfect craft for a preschooler is a balancing act. You want something that looks adorable, but it has to be simple enough for a 3- or 4-year-old to actually do (with just a little bit of help from you!).
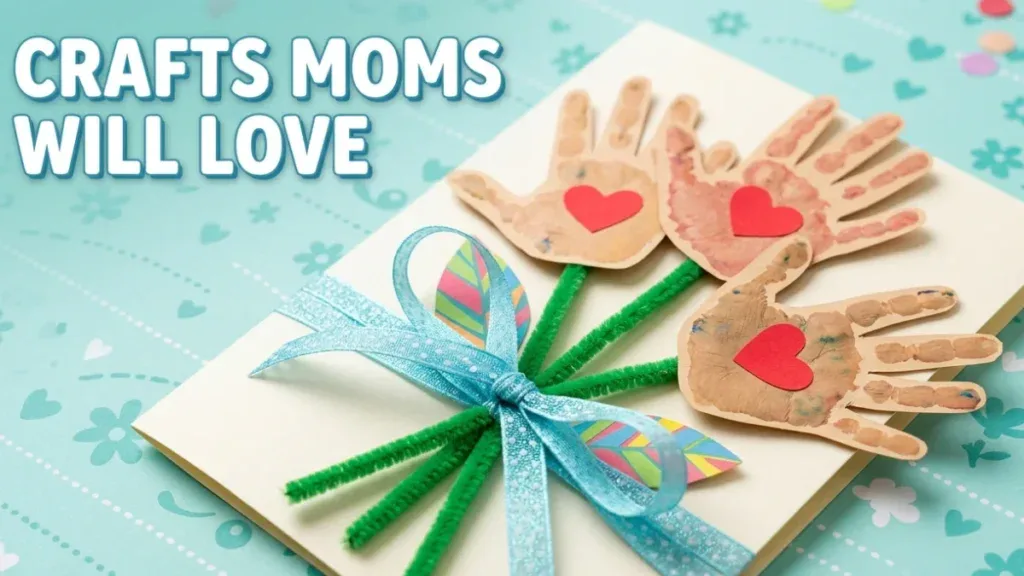
These projects focus on fine motor skills—like stamping, painting, and folding—resulting in keepsakes that Mom or Grandma will cherish forever.
1. The Classic Handprint Bouquet
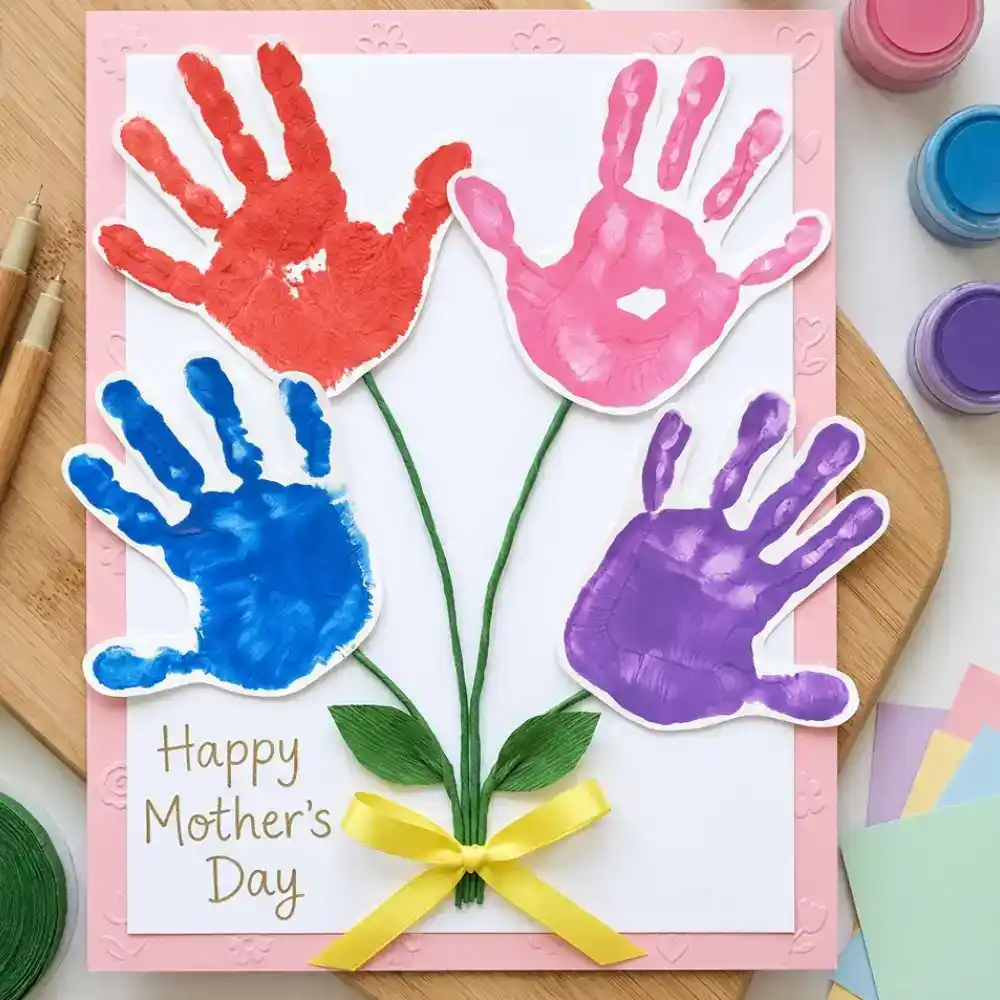
Nothing says “preschool craft” like handprints. This project uses your child’s hand as the flower petals, creating a personalized bouquet that won’t ever wilt.
- Why it’s great for Preschoolers: It’s a sensory experience! Kids love the feeling of the paint on their palms, and it’s a wonderful way to record just how small they were this year.
- Expert Tip: Use a slightly thicker cardstock so the “bouquet” stays upright when displayed.
How to Make the Handprint Bouquet
This is a wonderful, messy-but-memorable activity. It’s perfect for kids who are just learning to control their hand movements!
What You’ll Need:
- Washable paints (let the kids pick their favorite “flower” colors)
- Thick white cardstock
- Green construction paper, yarn, or green pipe cleaners (for the stems)
- A yellow ribbon (optional, for that final touch)
- Glue or double-sided tape
Simple Steps:
- Paint the Hands: Brush a generous layer of washable paint onto your child’s palm and fingers.
- Stamp: Press their hand firmly onto the cardstock to create the “blossoms.” Repeat in different colors to build a full bouquet.
- Dry: Let the handprints dry completely.
- Cut: Carefully cut around the handprints.
- Add Stems: Glue the handprint flowers onto your base paper and draw or glue on green stems and leaves.
- The Finishing Touch: Glue a small ribbon on the stems.
Check out our full step-by-step tutorial for this Mother’s Day Handprint Art Flowers Craft here.
2. Toilet Paper Roll Stamped Heart Tree
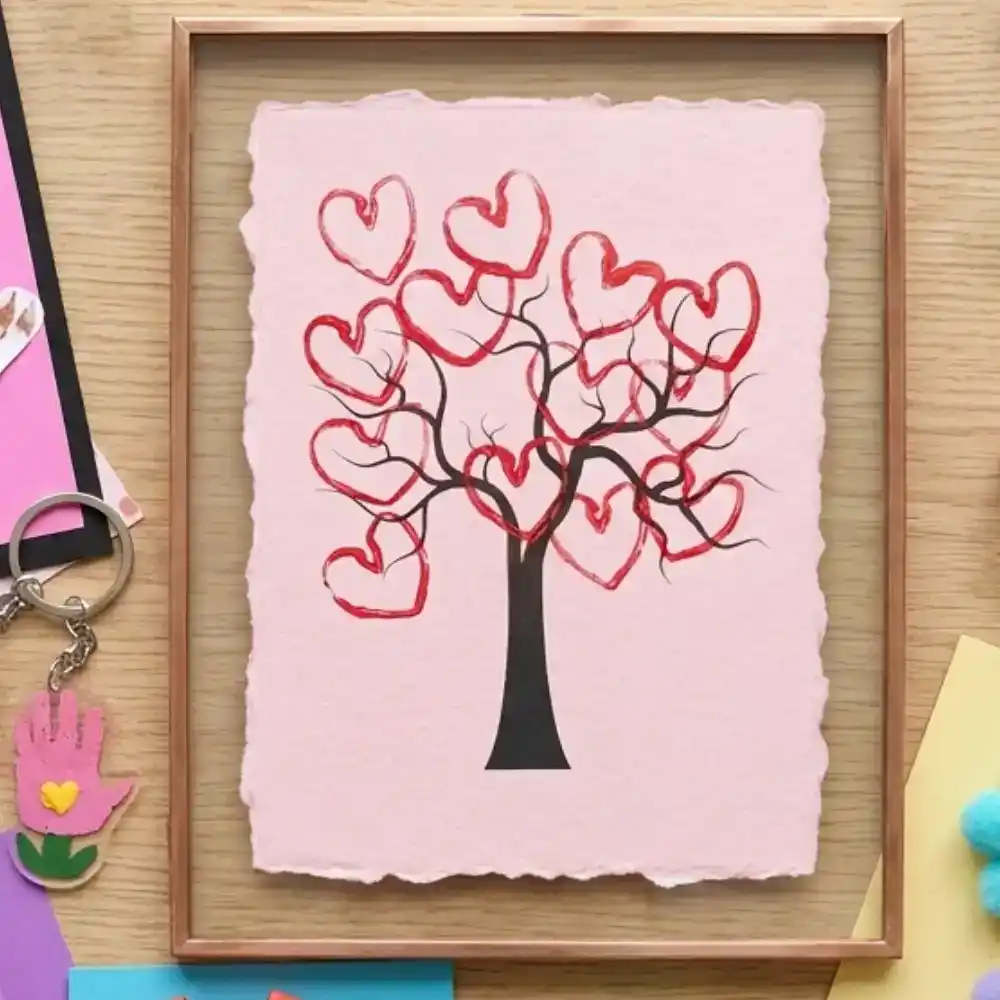
Don’t throw away those cardboard tubes! By pinching them into a heart shape, they become the perfect stamp for a beautiful “Love Tree.”
- Why it’s great for Preschoolers: It practices “aim and press” coordination. It’s much easier for a toddler to use a stamp than to try and draw a perfect heart with a crayon.
Step-by-Step Instructions:
- Prepare the Tree: Start with your tree outline on a piece of cardstock. If you’re a teacher, printing these ahead of time makes the activity much smoother!
- Create Your Heart Stamp: Take an empty toilet paper roll and pinch one side inward to create a “V” shape. If it keeps popping open, wrap a rubber band around the middle to hold the heart shape firmly in place.
- Set Up the Paint: Pour a generous amount of paint onto a paper plate. Ensure it’s spread out enough for the stamp to touch the paint evenly.
- Stamp and Press: Have the kids dip the heart-shaped end of the roll into the paint, then dab/stamp it onto the branches of the tree.
- Get Creative: Encourage them to use one or more colors to fill in the branches, creating a lush, heart-filled tree canopy.
- Dry: Let the artwork dry completely before hanging it up.
Get our Free Printable Tree Template and full instructions here.
Pro-Tip for the Classroom:
If you have a large group of kids, pre-shape all the heart stamps before the class starts! It saves a huge amount of time and keeps the “craft momentum” going.
3. DIY “For Mommy” Heart Notebook
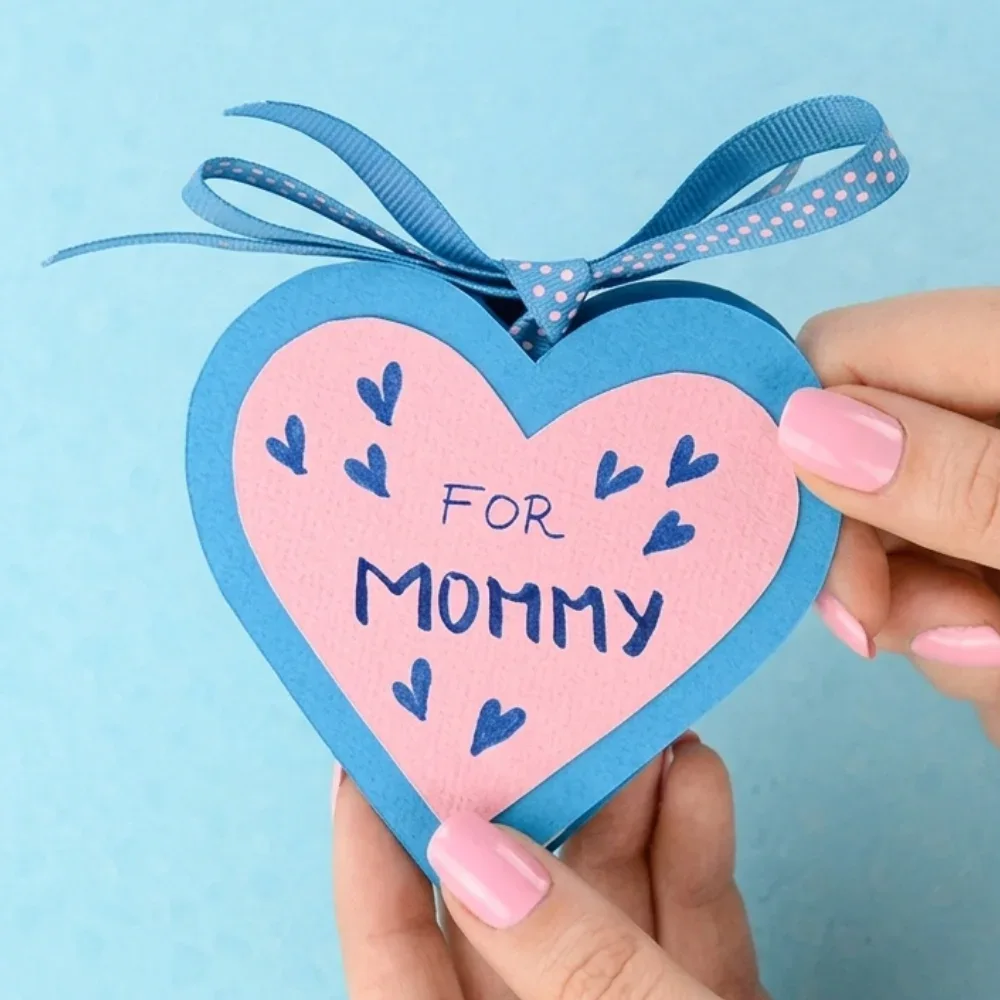
This is a wonderful first “bookmaking” project. Preschoolers can “write” their own messages (or scribbles!) inside a heart-shaped book they helped assemble.
- Why it’s great for Preschoolers: It encourages early literacy and gives them a sense of pride in making a “real” gift.
Step-by-Step Instructions:
- Prep the Pages: Fold a sheet of white paper in half, then in half again. Place a heart template so the bottom of the heart is on the corner with no open flaps. Trace and cut the arches.
- The “Clover” Fold: Unfold the paper to see a “4-leaf clover” shape. Refold it so the side hearts are pushed inward, creating a single heart shape that opens like a little book. Repeat for as many pages as you want!
- Assemble the Book: Glue the flat sides of your folded hearts together, stacking them one on top of the other.
- Add the Covers: Trace the heart template twice onto construction paper and cut them out.
- Bind with Ribbon: Apply glue to the front and back of your white heart stack. Lay a piece of ribbon across the center, then press the construction paper covers on top to “sandwich” the ribbon in place.
- Personalize: Tie the ribbon into a bow and let the kids write a message on the cover or draw special pictures on the pages inside!
Ready to get started? Download the Heart Notebook Template and see the full video tutorial here.
4. Cupcake Liner “Photo” Flowers
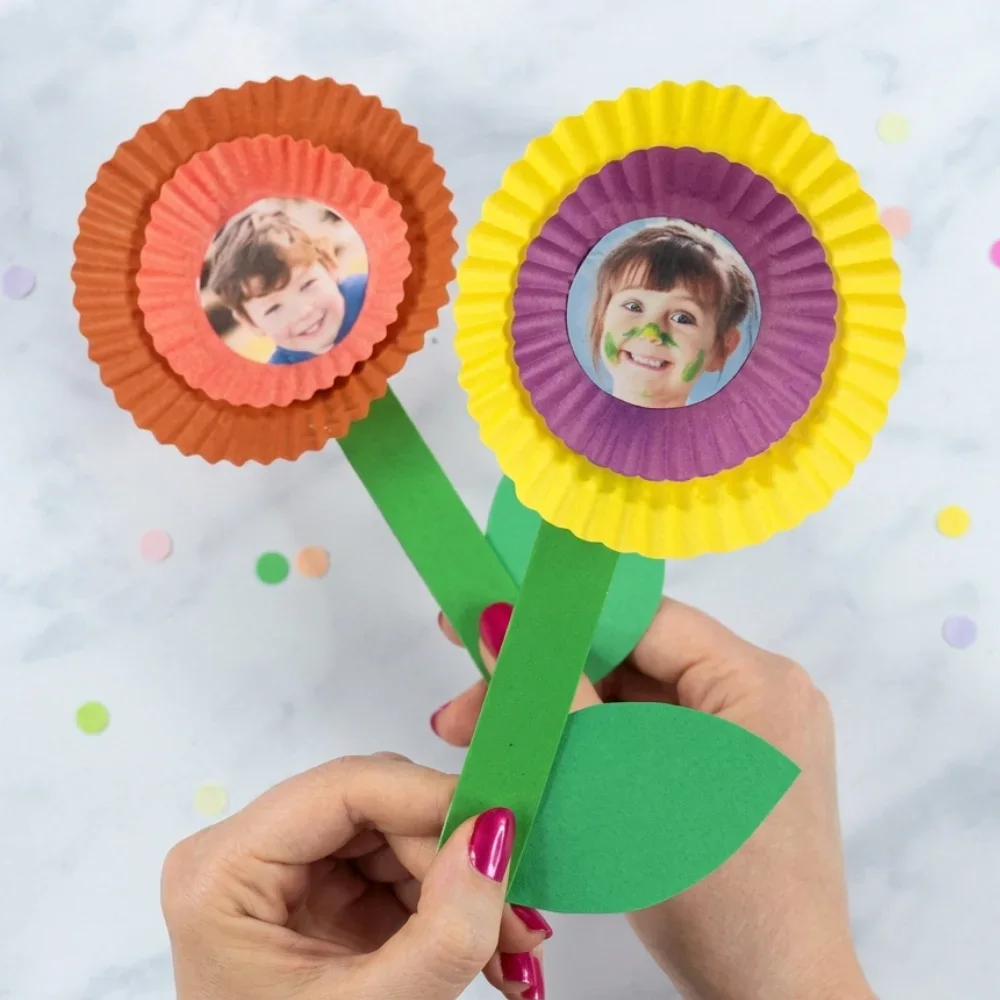
If you want to win Mother’s Day, add a photo. These flowers use bright cupcake liners with a circular photo of the child in the center.
- Why it’s great for Preschoolers: It involves simple gluing and “layering,” which is a key developmental skill for this age group.
Step-by-Step Instructions:
- Prepare the Photos: Cut the children’s photos into circles that fit inside the center of your smallest cupcake liner.
- Layer the Flower: Flatten one large cupcake liner. Glue a smaller, contrasting-colored liner into the center of the large one.
- Add the Face: Glue the circular photo into the very center of the “flower.”
- Attach the Stem: Glue a green craft stick to the back of the large cupcake liner to act as the stem.
- Finish with Leaves: (Optional) Cut small leaf shapes out of green construction paper and glue them to the craft stick.
💡 Pro-Tip to Save Time: Buy pre-painted green craft sticks! It completely removes the “paint and dry” wait time, making this a one-session craft that’s much easier to manage in a classroom setting.
5. Symmetry Heart Art
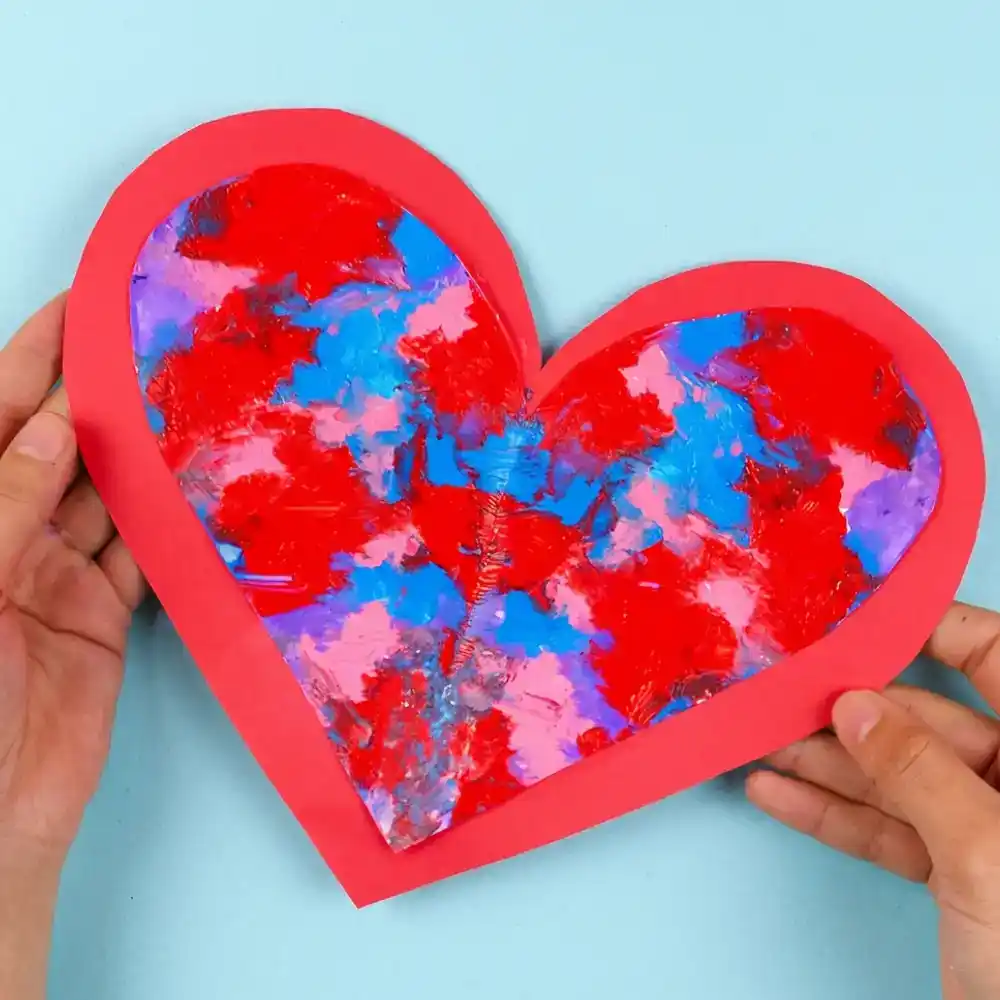
Fold a piece of paper, squirt some paint, and press! This “magic” painting technique never fails to wow a 4-year-old.
- Why it’s great for Preschoolers: It teaches the concept of symmetry in a fun, messy, hands-on way.
Step-by-Step Instructions:
- Prepare the Hearts: Cut a large heart out of red paper and a slightly smaller heart out of white paper.
- Fold and Squish: Fold the white heart in half vertically to create a center crease, then unfold it.
- Dab the Paint: Have the child squeeze small dabs of paint onto just one side of the folded white heart.
- The Magic Reveal: Fold the heart back up and have the child rub and press their hand over the paper to spread the paint.
- Unfold: Carefully open the heart to reveal a perfectly symmetrical, mirrored design on both sides!
- Assemble: Once dry, glue your “magic” painted heart onto the larger red heart base to finish your masterpiece.
6. The “Fancy” Pasta Noodle Necklace
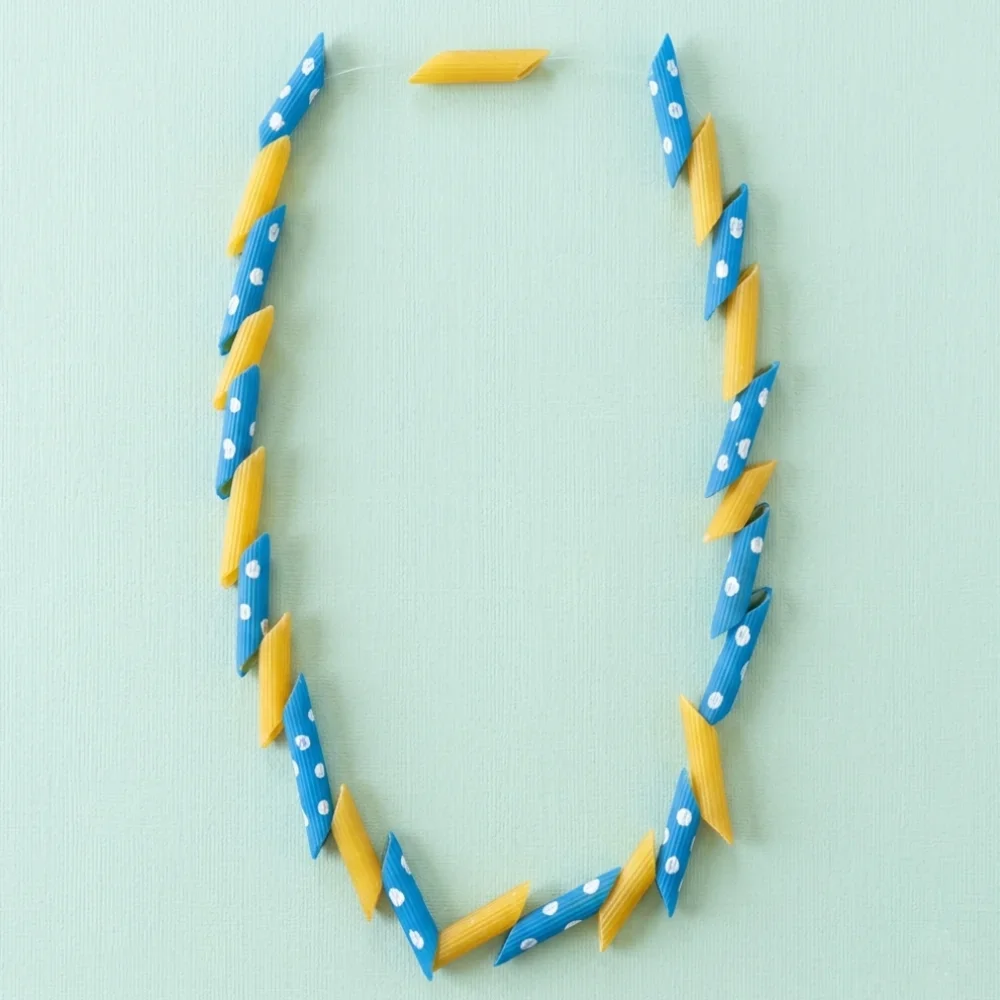
Every parent has a drawer full of random pasta shapes—this is the perfect way to turn that pantry staple into a piece of wearable “art” for Mom.
- Why it’s great for Preschoolers: Stringing noodles is the ultimate fine-motor workout. It requires intense focus, hand-eye coordination, and patience.
- The “Glow Up” Technique: Instead of just plain noodles, let your preschooler paint them with metallic gold or silver paint first. It elevates the final look from “kitchen craft” to “sophisticated jewelry.”
Step-by-Step Instructions:
- Check the Pantry: Gather pasta that is expired or past its best-by date to give it a second life as a beautiful piece of jewelry!
- Paint the Noodles: Let the kids paint the noodles in bright colors. To add a “fancy” touch, you can add white polka dots or metallic stripes once the base color is dry.
- Let Them Dry: Spread the noodles out on a paper towel or tray until they are completely dry and no longer sticky.
- Start Stringing: Give your child a piece of string or a pipe cleaner. Have them thread the noodles one by one to create their pattern.
- Finish the Gift: Tie the ends of the string securely. If using a pipe cleaner, simply twist the ends together to complete the necklace.
💡 Pro-Tip for Toddlers: If using string, wrap a small piece of tape around the end to create a “needle” tip. This makes it much easier for little hands to guide the string through the pasta holes!
7. 3D Pompom Flowers Card
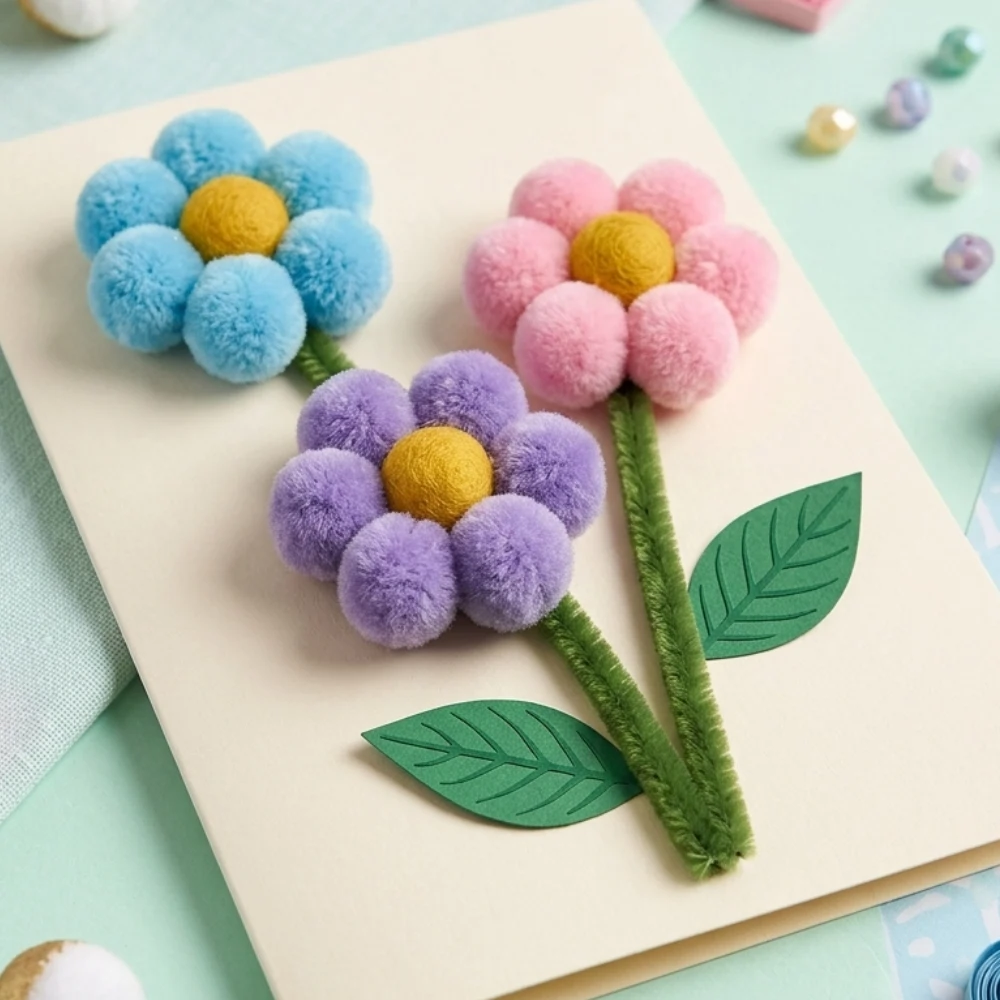
This card is a sensory delight! Using soft pompoms and fuzzy pipe cleaners adds a 3D element that preschoolers find fascinating to build and touch.
- Why it’s great for Preschoolers: It’s all about tactile exploration and “point gluing.” Placing small pompoms in a specific circular pattern is a great challenge for their developing spatial awareness.
- Expert Tip: Use a slightly thicker tacky glue rather than a standard school glue stick; it holds the weight of the pompoms much better while they dry.
How to Make It:
- Stem Placement: Glue three green pipe cleaners onto a folded yellow cardstock base to act as your flower stems.
- The Center: Place one yellow pompom at the top of each stem.
- Build the Petals: Choose a contrasting color (like pink or purple) and glue pompoms in a circle around the yellow center until the flower is full.
- Add Leaves: Cut small leaf shapes from green paper and glue them onto the pipe cleaner stems.
8. Handprint “Mom” Portrait Card
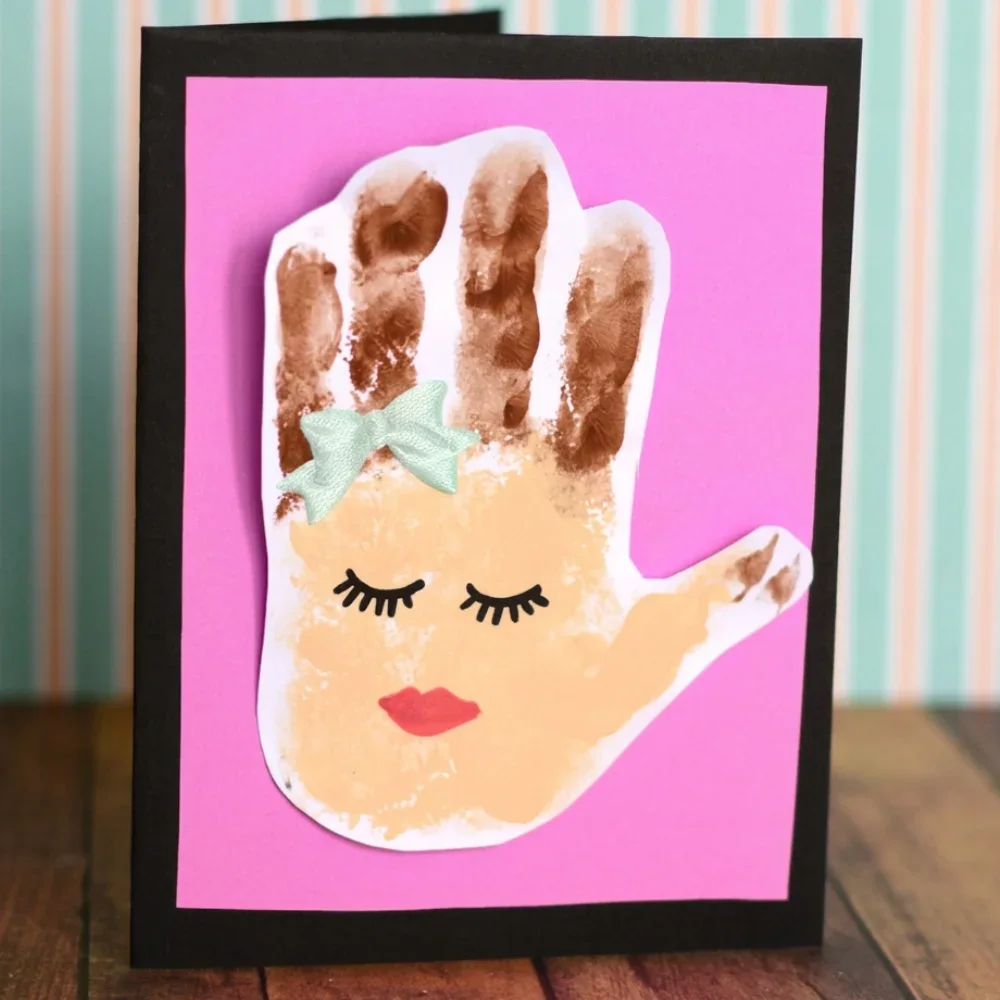
This is a quirky and adorable way to turn a simple handprint into a “mini-me” or a portrait of Mom. It’s always a huge hit because every “face” ends up looking a little different!
- Why it’s great for Preschoolers: It encourages imaginative play. Instead of just a “hand,” they start to see the fingers as hair and the palm as a face, which is a big leap in creative thinking for this age.
- Expert Tip: Use a damp sponge to apply the paint to the hand rather than dipping—it helps get those crisp “hair” lines on the fingers.
How to Make It:
- Paint the Hand: Use a skin-toned paint for the palm and a “hair” color (brown, black, yellow, or orange) for the fingers.
- Stamp: Press the hand firmly onto white cardstock and let it dry completely.
- Decorate the Face: Have the child draw on two eyes (or use googly eyes!) and a happy red smile on the palm area.
- The Final Accessory: Glue a tiny fabric bow or a paper bow onto one of the “hair” fingers to give the portrait some extra style.
Looking for more advanced projects for older siblings? See our Ultimate Mother’s Day Craft Collection for dozens more ideas!
Want instant access to all of our printable crafts, activities, and resources?
With thousands of crafts, activities, worksheets, coloring pages, and drawing tutorials to print, you will always have just the resource you need at your disposal. Perfect for parents and teachers alike!