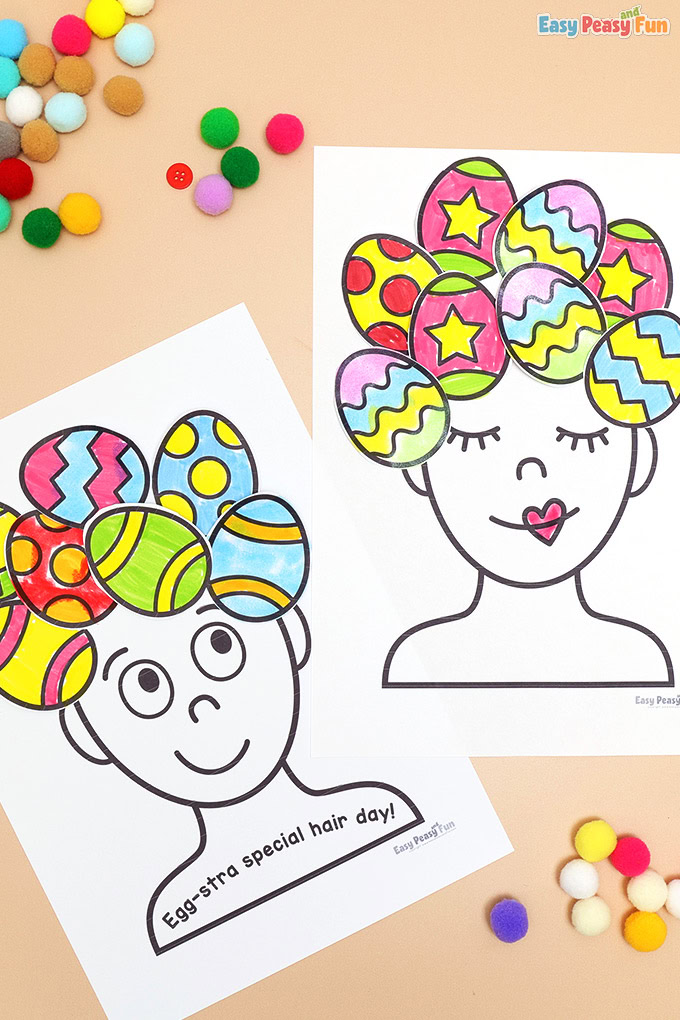
Easter is just around the corner, and this Easter egg hair portraits craft is a fun way to celebrate! Kids can create their own colorful hairstyles using bright and beautiful Easter eggs.
This simple cut and paste activity is perfect for the classroom or at home. Print the templates, color or design the Easter eggs in all your favorite spring colors, cut them out, and stick them on the portrait to create wild and wonderful Easter egg hairstyles!
Browse more easter craft ideas to make with your kids.
* This post contains affiliate links *
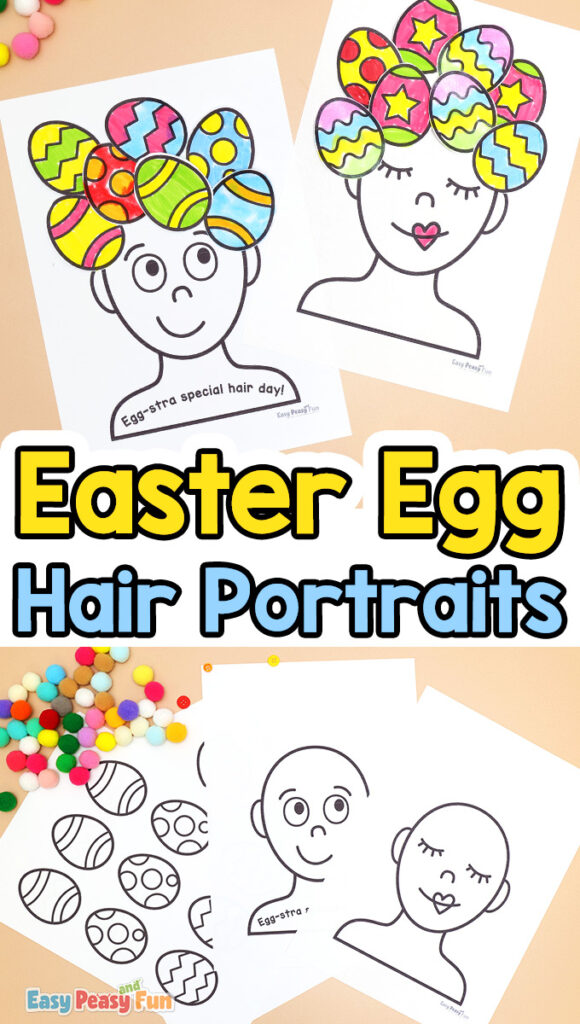
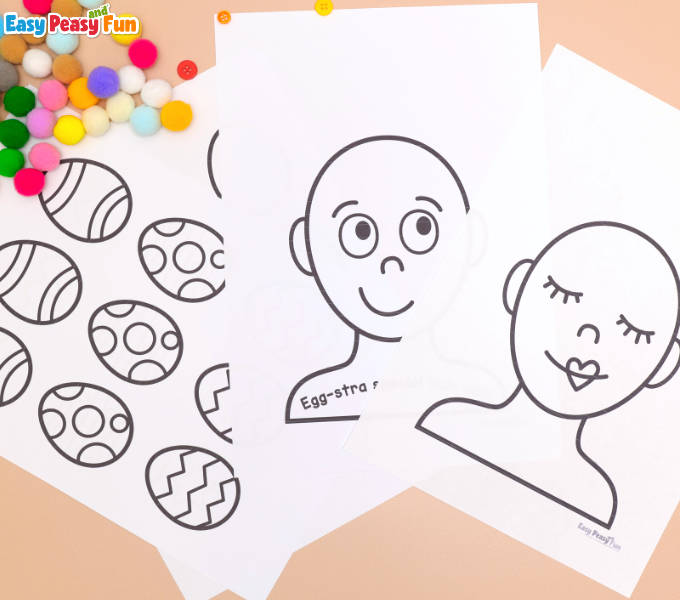
The templates include quite a few different portrait options – one with a cute face already drawn, and one blank where kids can draw their own expressions. A boy and a girl version. Framed portrait and even a few with an egg-citing quote. Plus, there’s a whole sheet of Easter eggs in different styles: simple eggs, ones with stripes, ones with polka dots, ones with zigzag patterns, and even some with little chick or bunny faces on them!
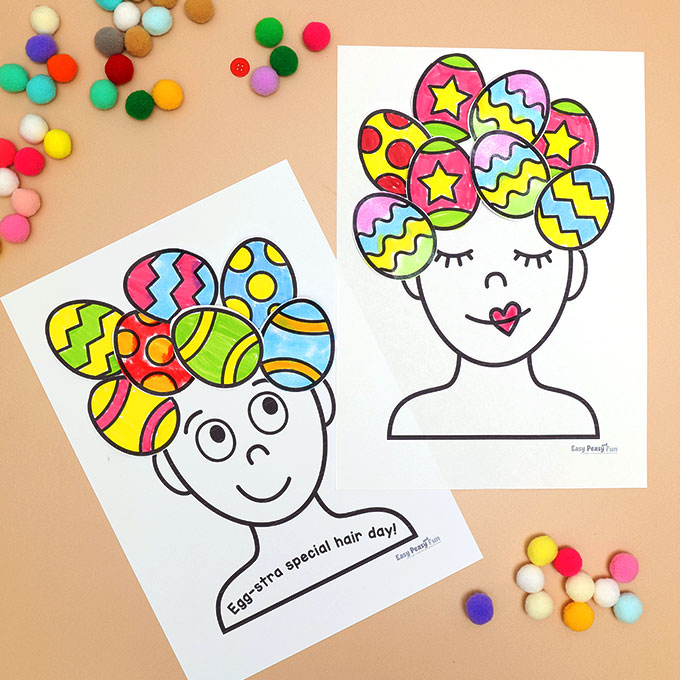
This craft works great as an Easter bulletin board display or as individual cards kids can give to family and friends. It’s egg-straordinarily good fun!
Let’s get started!
Easter Egg Hair Portraits Craft
What you need:
- our printable Easter egg hair portrait templates
- coloring supplies (paint sticks, markers, crayons, or colored pencils)
- scissors
- glue stick
Step by Step Instructions
Print the templates. Print out the portrait template and the Easter egg sheet. You can choose between a portrait with a face already drawn and a blank one, where kids can create their own expression.
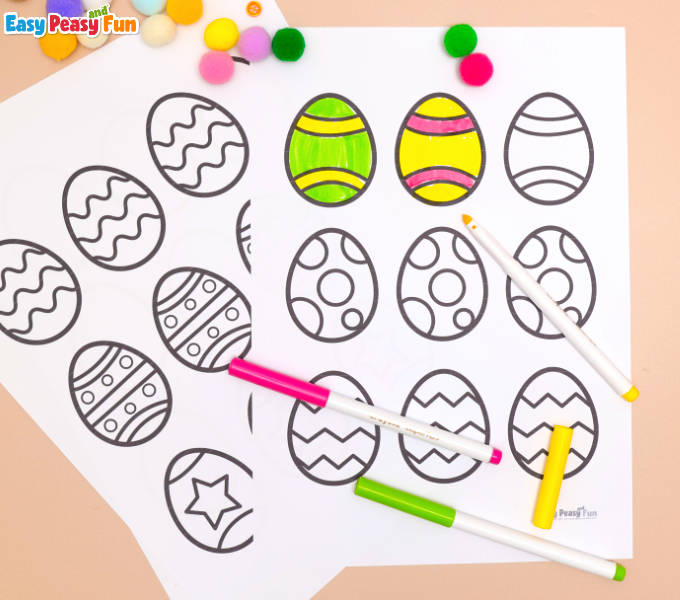
Color the Easter eggs. Grab your coloring supplies and start filling in all those Easter eggs! We used paint sticks, but markers, crayons, or colored pencils work great too. Try using different spring colors, pink, purple, yellow, blue, and orange, to make your hairstyle really pop!
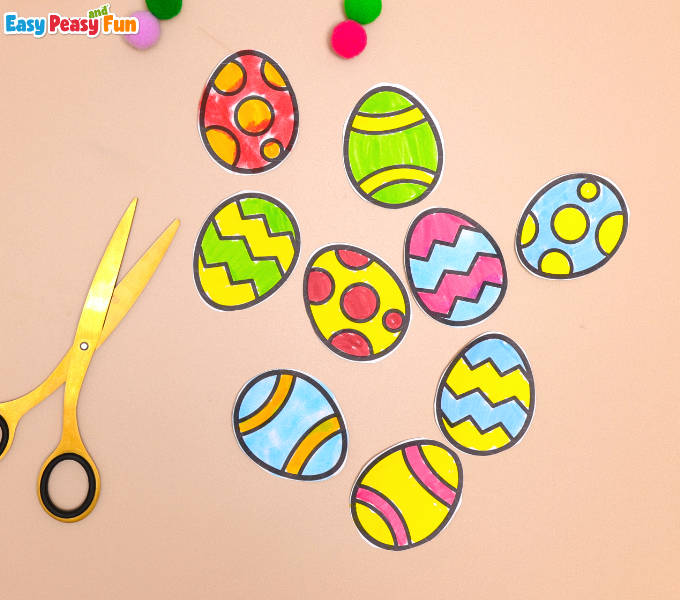
Cut out the Easter eggs. Once your eggs are colored and dry, carefully cut them all out. You’ll have a lovely collection of different egg styles to choose from.
Get your portrait ready. Grab your portrait template. If you chose the blank one, draw in a face first before adding the Easter egg hair!
Start gluing the Easter eggs. Use your glue stick to attach eggs around the head area. Start with a few along the top and sides to create the basic hairstyle shape.
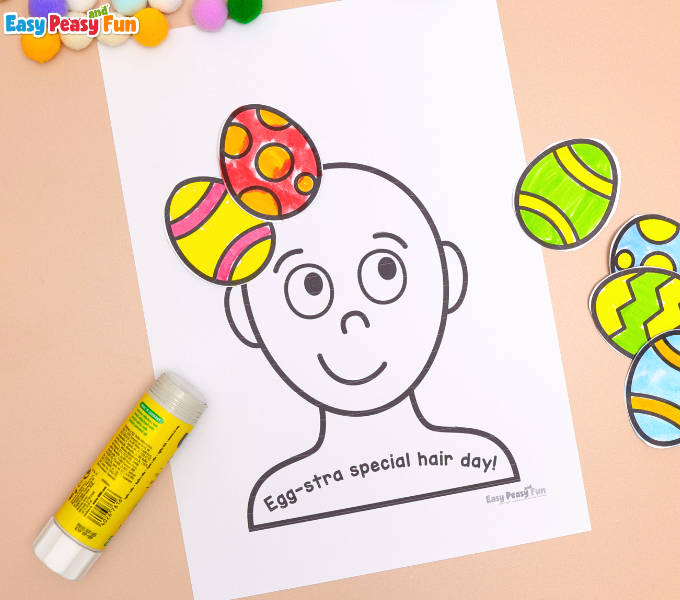
Fill in the hairstyle. Keep adding more Easter eggs to fill in the hair, layering them to create a full, fun look. Mix and match the different egg styles – combine the striped ones with the polka dot ones and the patterned ones for variety!
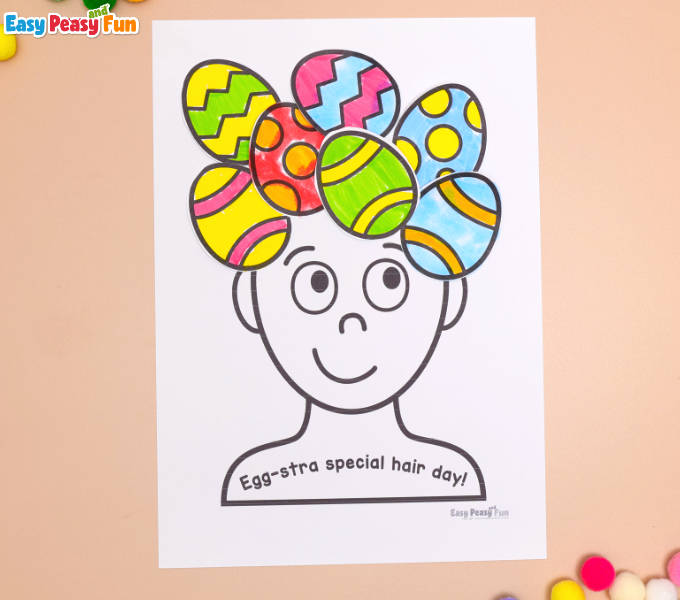
Your Easter egg hair portrait is done!
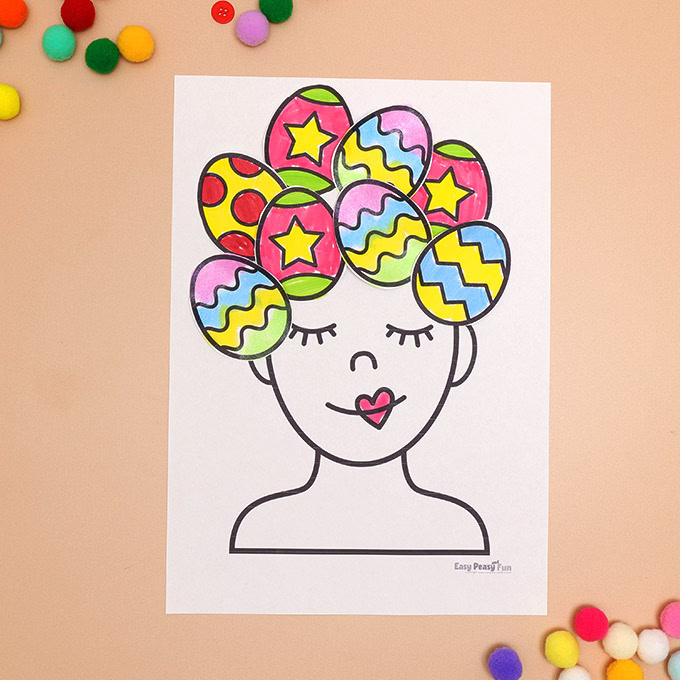
These make fantastic Easter decorations, and kids love seeing their colorful egg hairstyles come to life.
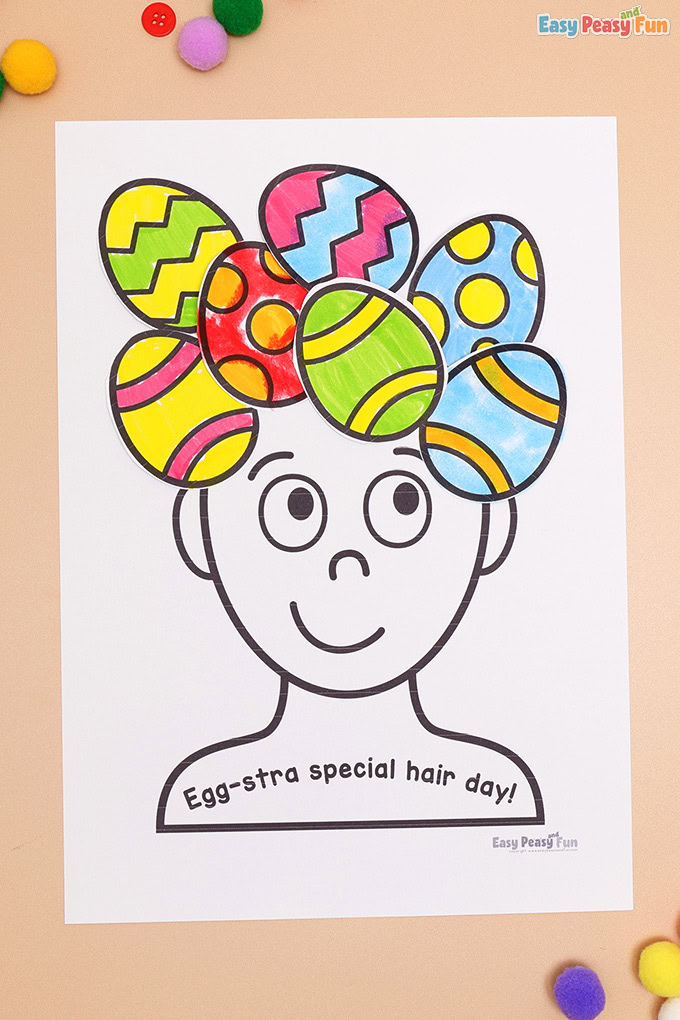
Have fun!
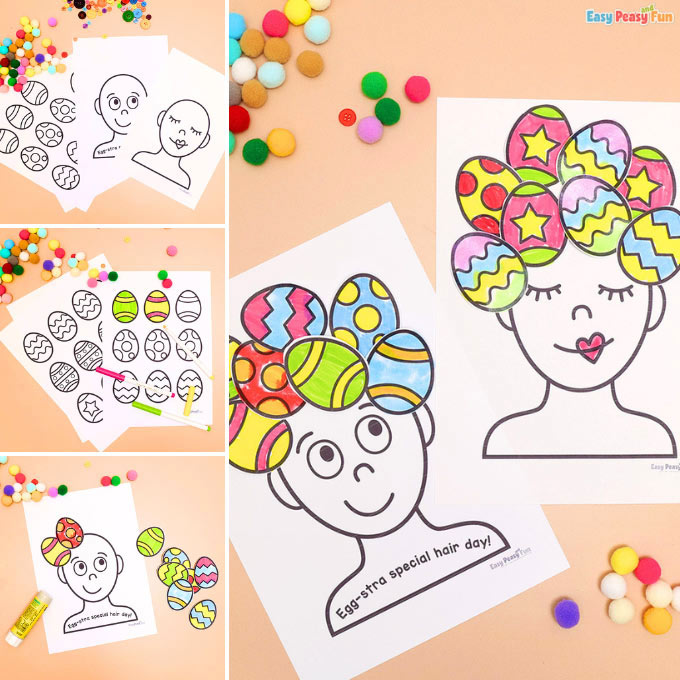
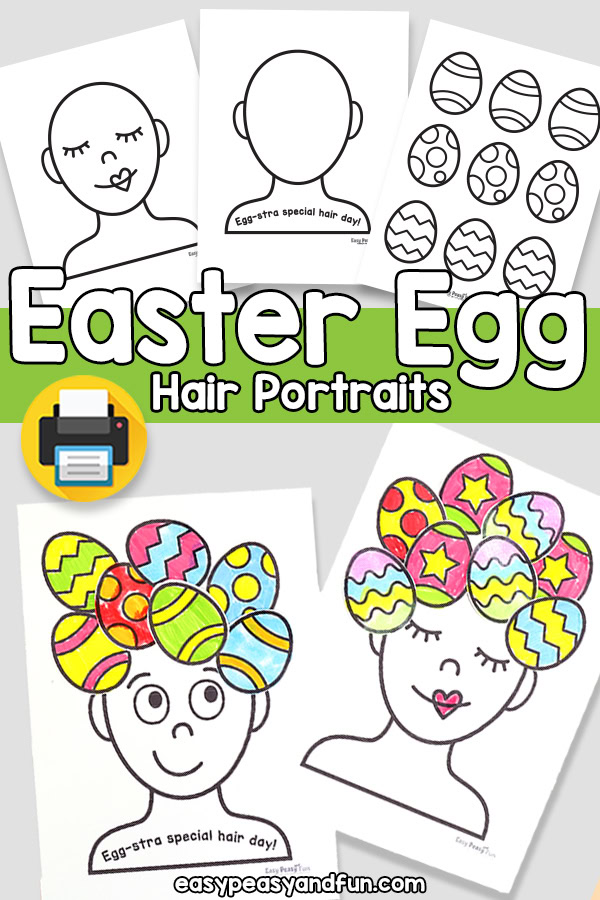
Get the Easter Egg Hair Portraits Craft
Grab the Easter egg hair portraits craft – it’s available to members of the Easy Peasy and Fun membership as well as in our TpT store.
To access the template, log in to your account or become a member.
Already a member? Log in here.
Want instant access to all of our printable crafts, activities, and resources?
With thousands of crafts, activities, worksheets, coloring pages, and drawing tutorials to print, you will always have just the resource you need at your disposal. Perfect for parents and teachers alike!