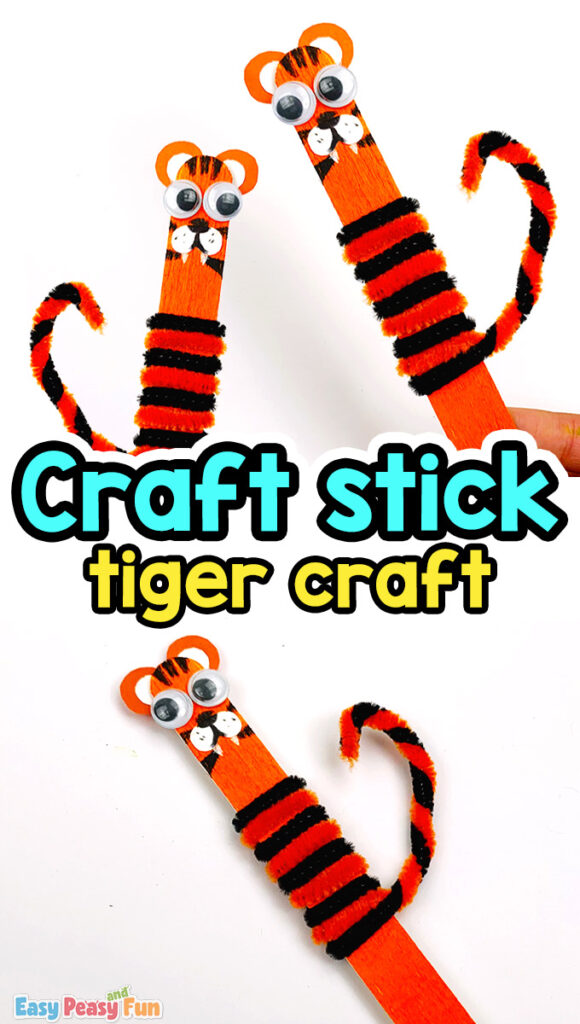
Bold, bright, and absolutely fierce, the tiger is one of the most magnificent animals on the planet! This popsicle stick tiger craft is no exception. With its striking orange-and-black stripes, this little guy is guaranteed to be one of the most impressive craft stick crafts kids have ever made.
While it looks like it took a lot of skill and effort, this tiger craft for kids is actually so simple and fun to put together. Whether used as a toy, displayed on a shelf, or gifted to a fellow tiger fan, this craft stick tiger is a roaring good time from start to finish!
*This post contains affiliate links*
Hi, I'm Andreja from Easy Peasy and Fun — and I just wrote a book!
50 paper crafts your kids can actually do themselves
CRAFTS
I designed every project so kids can do it themselves — no fancy supplies, just paper, scissors, and a little imagination.
“If you need easy crafts to keep busy, Andreja delivers with this book!”
Kids will love building up those iconic tigers.
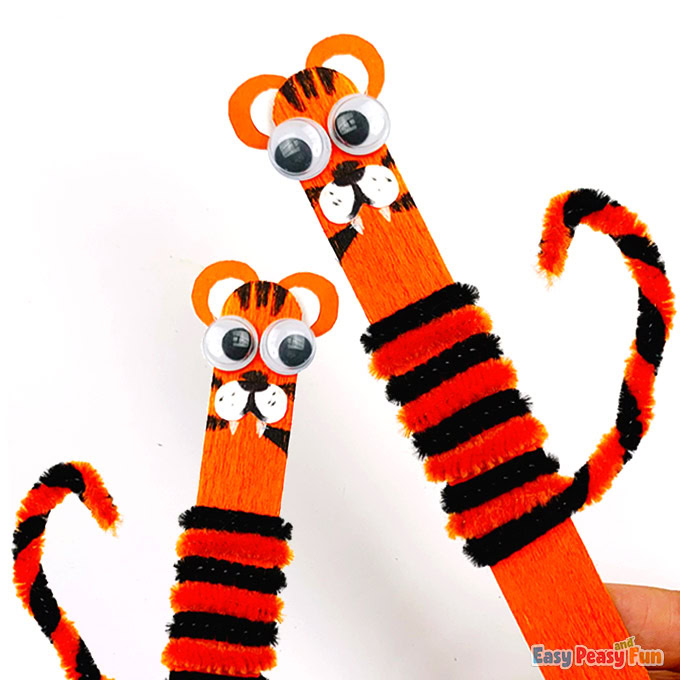
Ready to build the fiercest little tiger around? This easy tiger craft uses simple materials you likely already have in your craft bin.
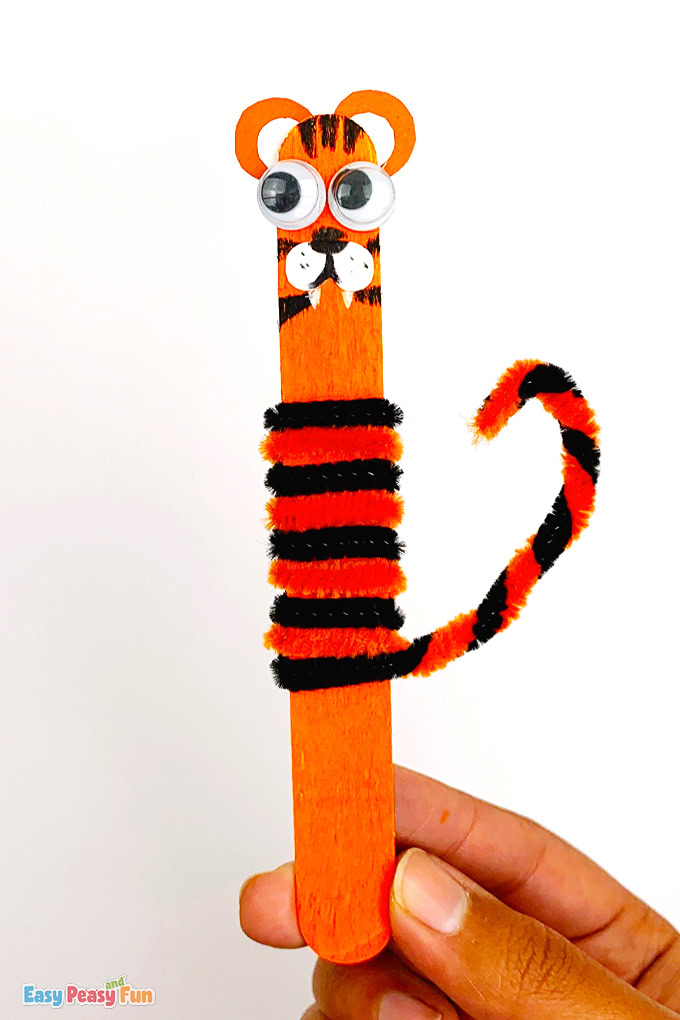
How to Make the Craft Stick Tiger Craft
What you need:
- Craft sticks (standard popsicle sticks or jumbo craft sticks)
- Orange craft paint and paintbrush
- Chenille sticks (pipe cleaners) in orange and black
- Googly eyes
- White paper and orange colored paper
- Black and white markers
- Scissors and glue
Step by Step Tutorial
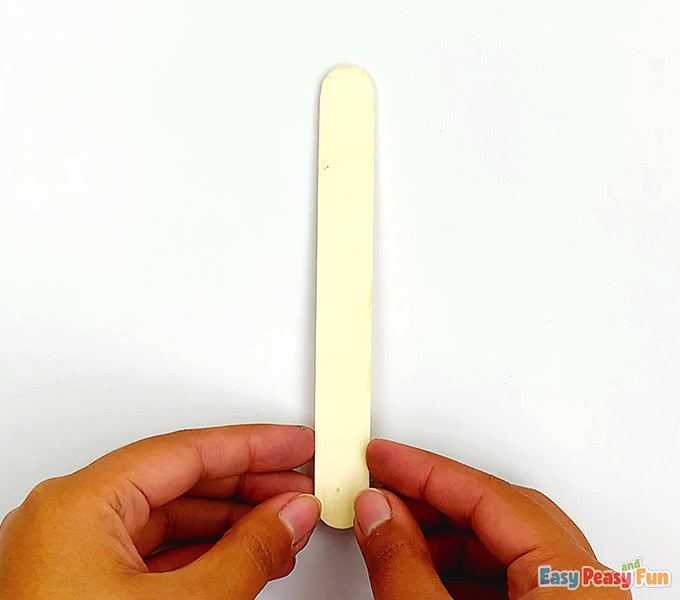
Use an unpainted stick. If you are making this craft with a larger group or want to make this tiger craft super quick, you can use pre-colored craft sticks.
1. Paint
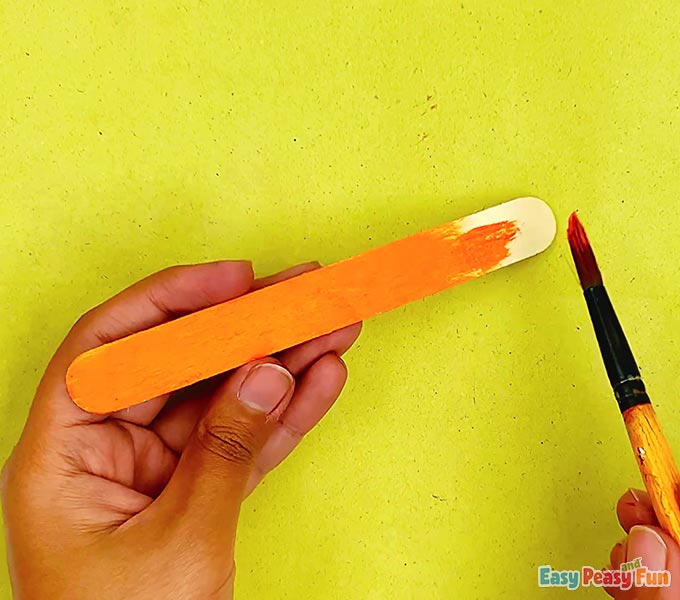
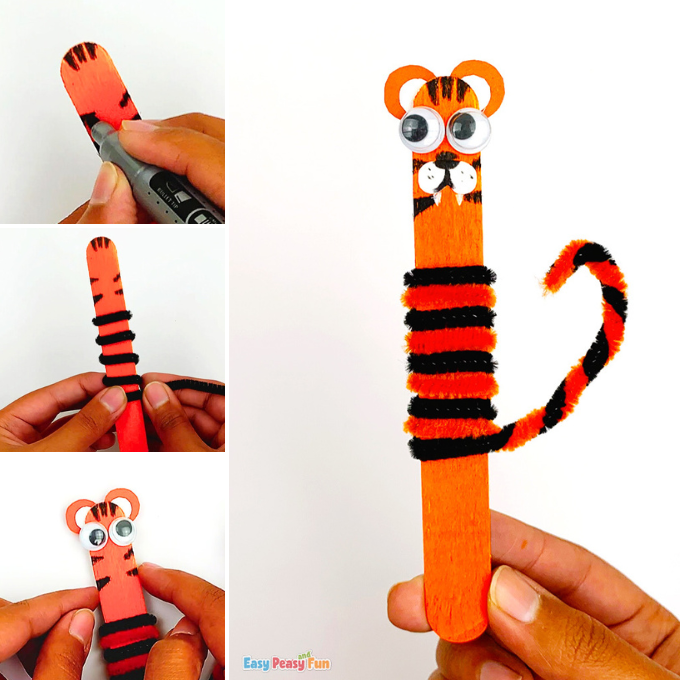
Paint the stick orange and let it dry.
2. Make stripes
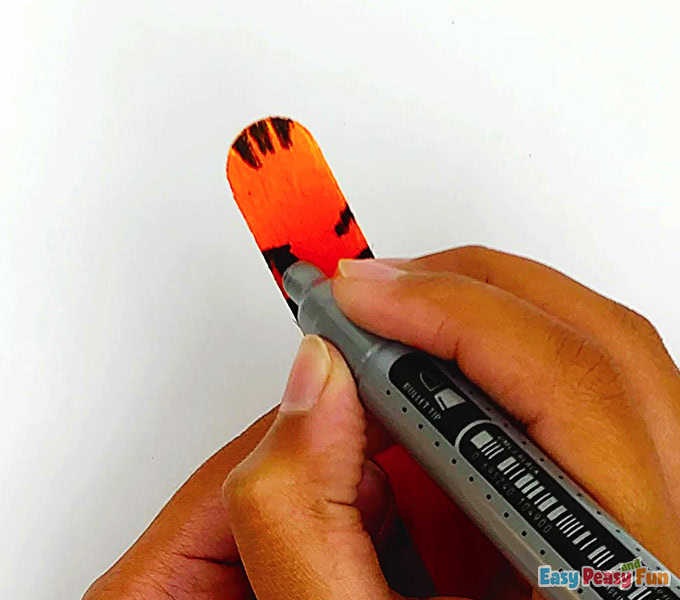
Add facial stripes: Use a black marker to draw bold triangle stripes at the top of the craft stick for the tiger’s forehead.
3. Wrap the Body
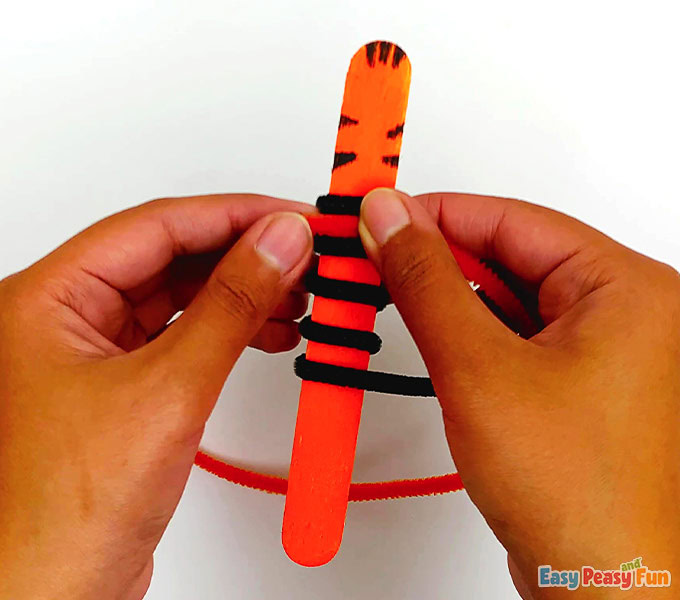
Black stripes: Wrap a black chenille stick around the middle of the craft stick, leaving small gaps between each wrap. Leave the end unwrapped to help form the tail.
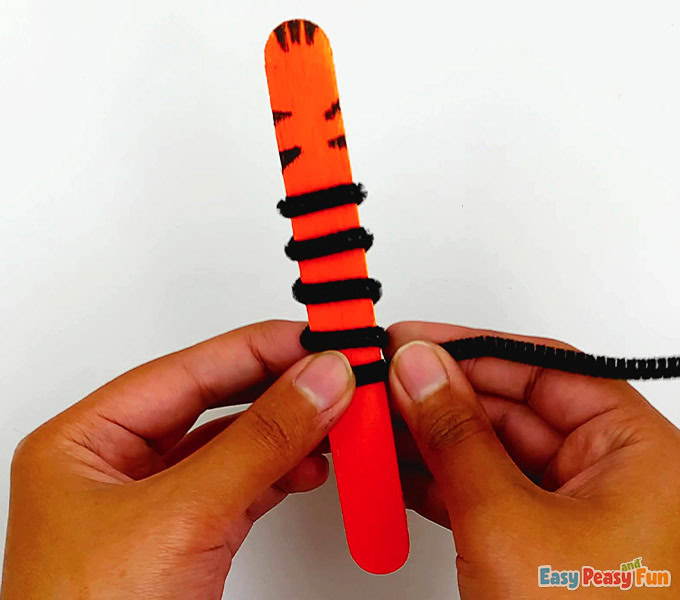
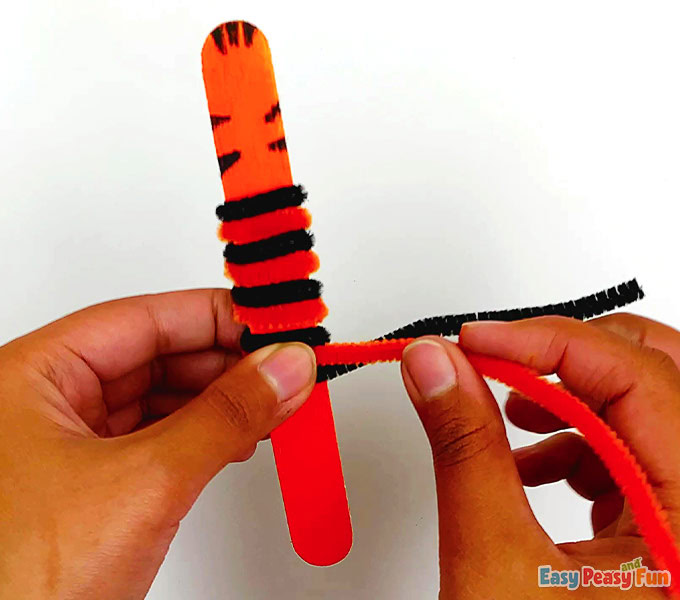
Orange stripes: Wrap an orange chenille stick around the same area, filling in all the spaces left by the black one. Again, leave the end unwrapped.
4. Create the Tail
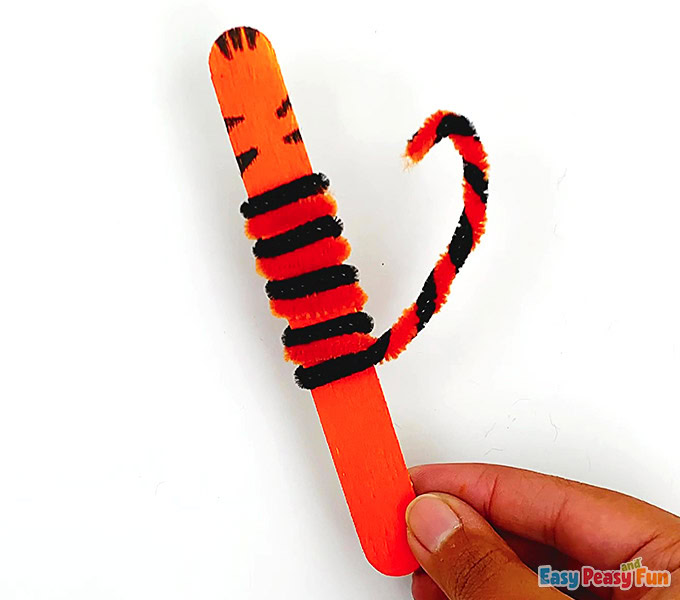
Intertwine the remaining orange and black ends of the chenille sticks together to create a gorgeous, striped tiger tail.
We’re done with the fluffy body.
5. Build the Face
Rounded Ears: Cut two circles from orange paper and two smaller circles from white paper. Glue the white circles onto the orange ones, then attach them to the back of the stick.
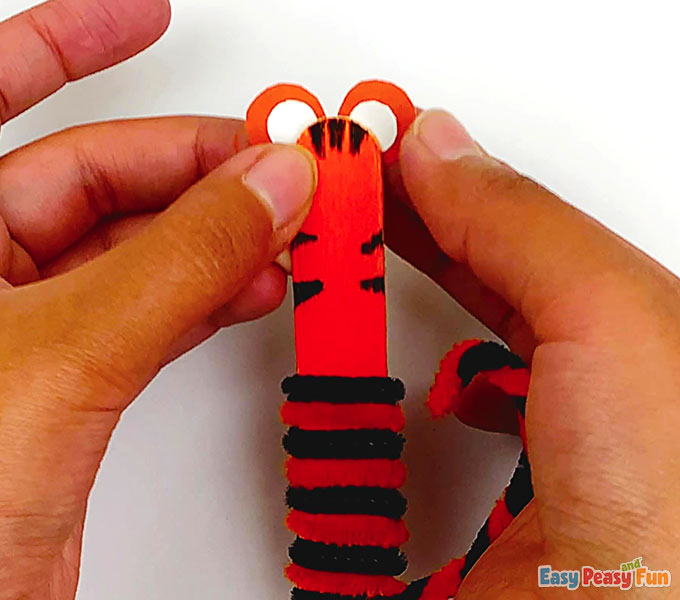
Eyes: Press two googly eyes onto the face.
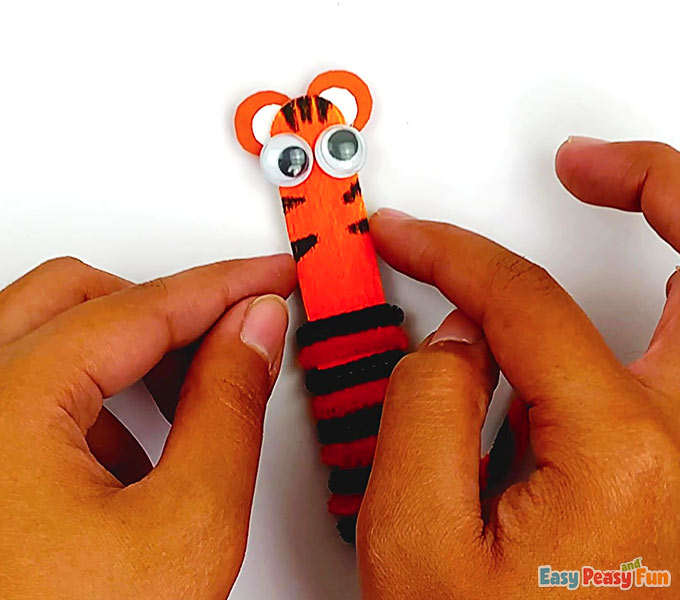
Snout: Cut a small white paper snout and glue it onto the lower face.
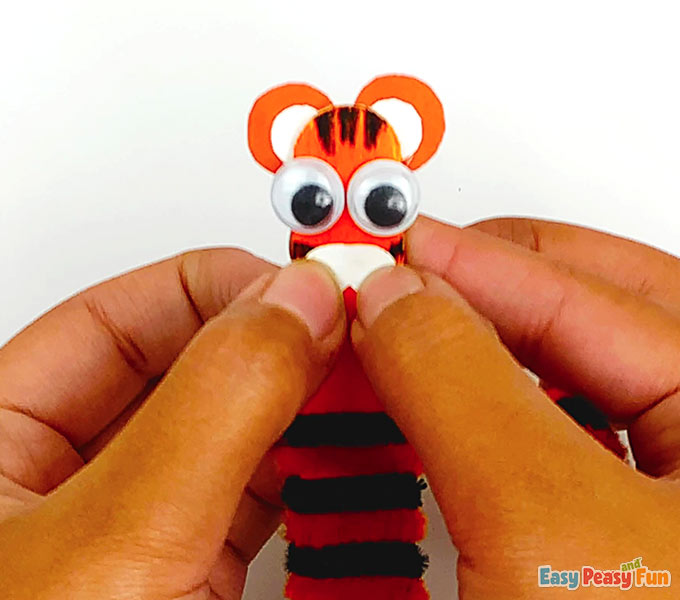
Details: Draw a nose, mouth, and whisker dots with your black marker.
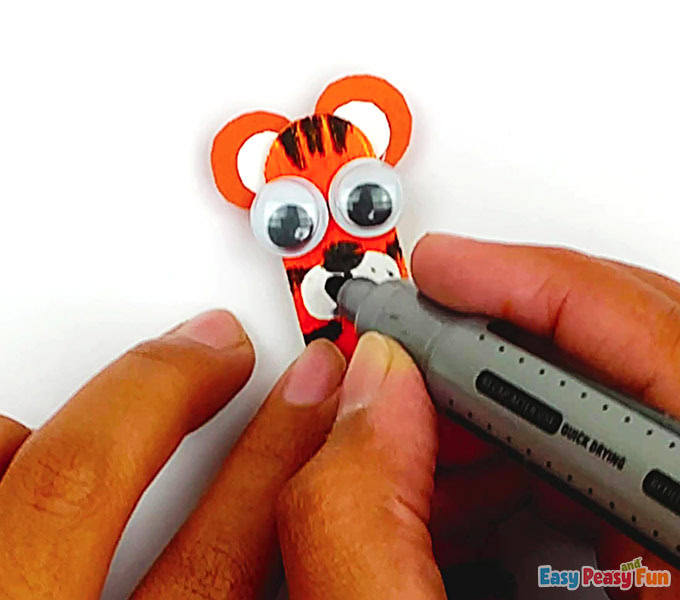
Ferocious Teeth: For the perfect finishing touch, use a white marker to draw on a set of little teeth!
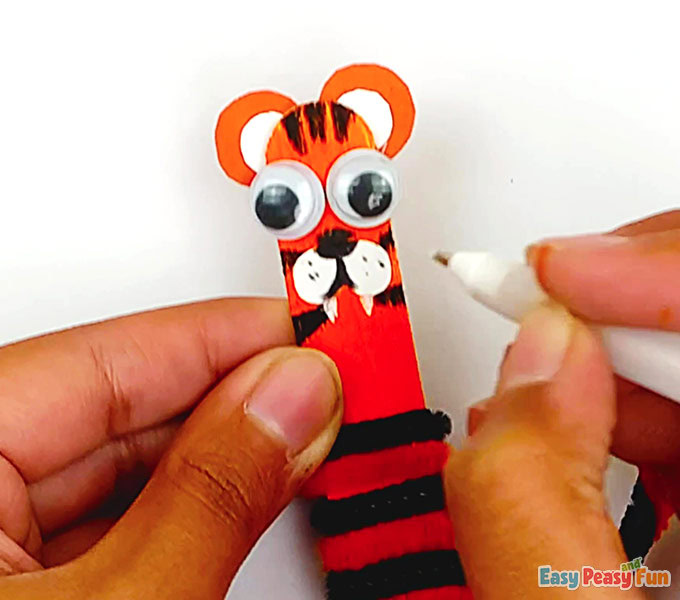
These craft stick tigers are so bold and colorful that they will instantly stand out on any shelf or windowsill!
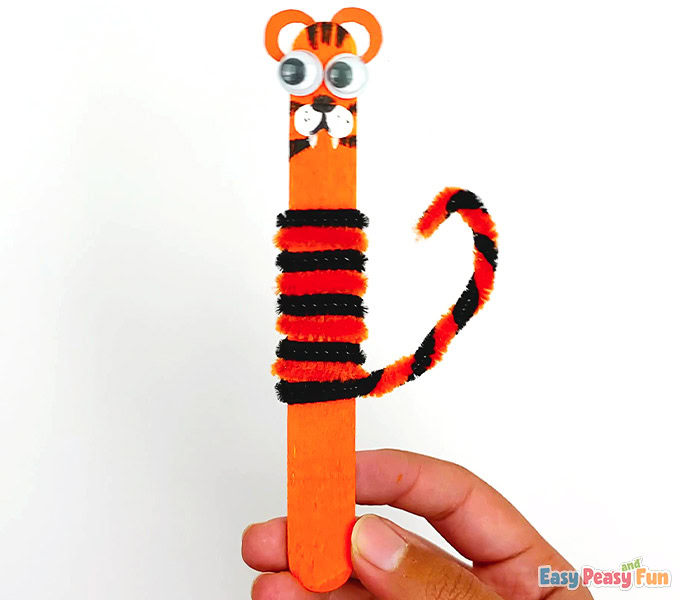
They make a wonderful gift for any wildlife lover.
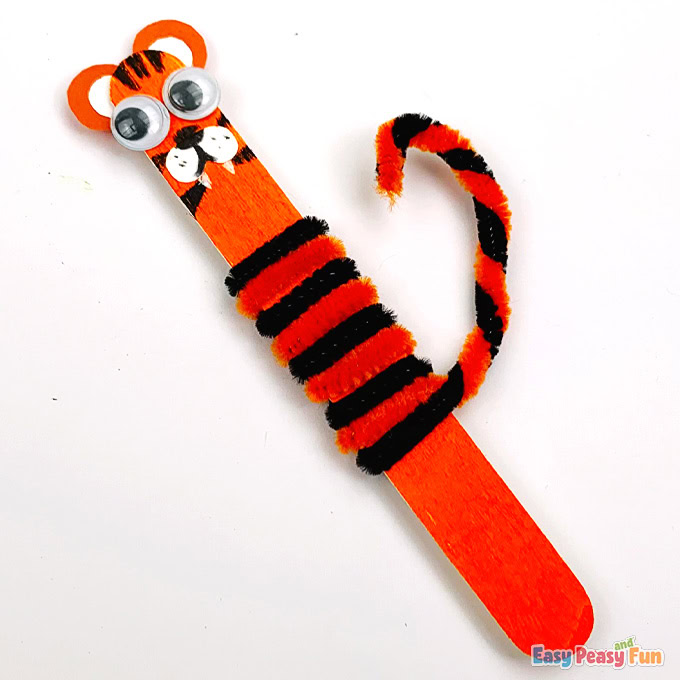
Make a few and arrange them together for the most striking little jungle scene imaginable!
Want instant access to all of our printable crafts, activities, and resources?
With thousands of crafts, activities, worksheets, coloring pages, and drawing tutorials to print, you will always have just the resource you need at your disposal. Perfect for parents and teachers alike!