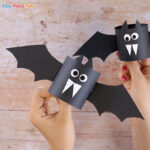
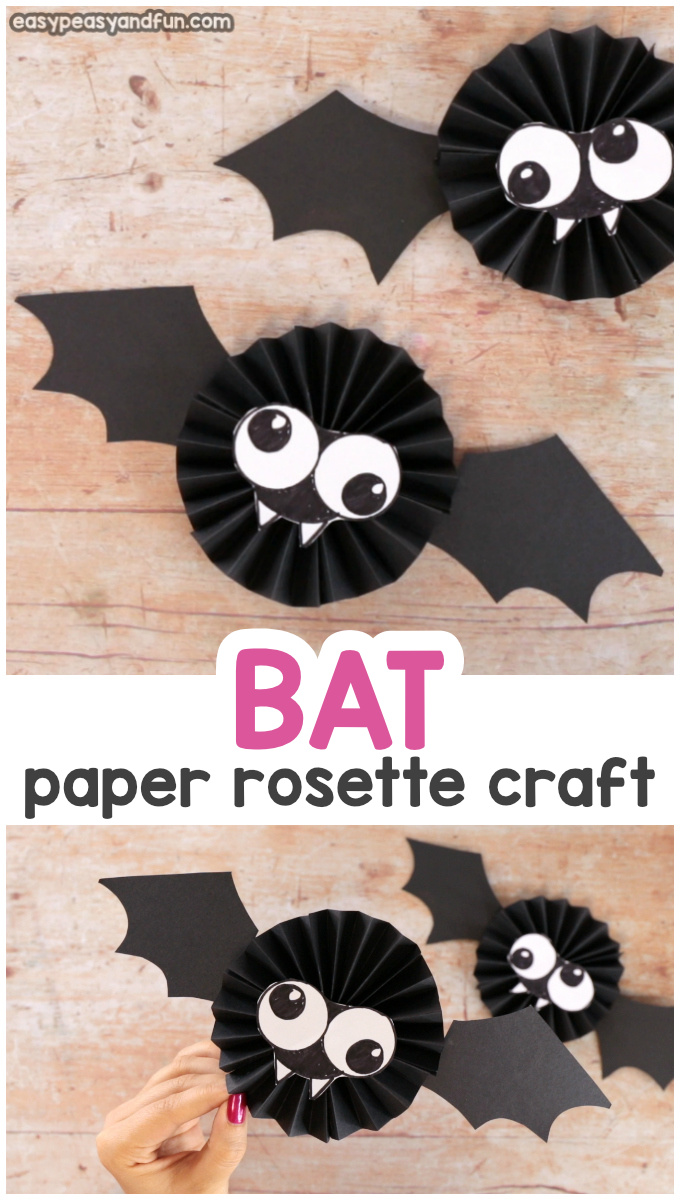
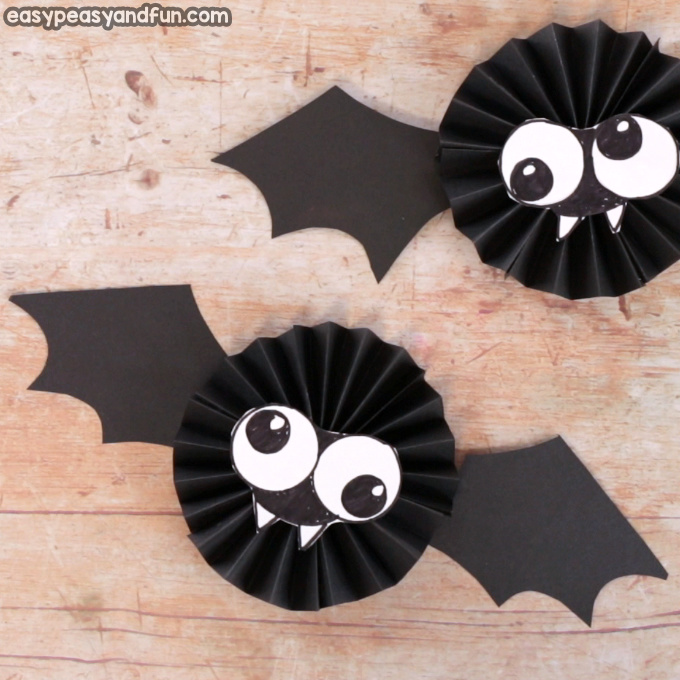
Let’s get silly with this Paper Rosette Bat Craft. These are super easy to make and just look how fun they turn out. They will look wonderful hanged on a string, dancing in the air or as a cool decoration on a bulletin board.
*this post contains affiliate links*
We absolutely love Halloween crafts here at Easy Peasy and Fun, they just might be our favorite. Paper rosettes are a wonderful craft for all ages, and you can make all kinds of cute creations with them – this bat craft being a great example.
How to Make Paper Rosette Bat Craft
What you need:
- black paper
- white paper
- black marker
- scissors
- glue
- string
Step by Step Tutorial
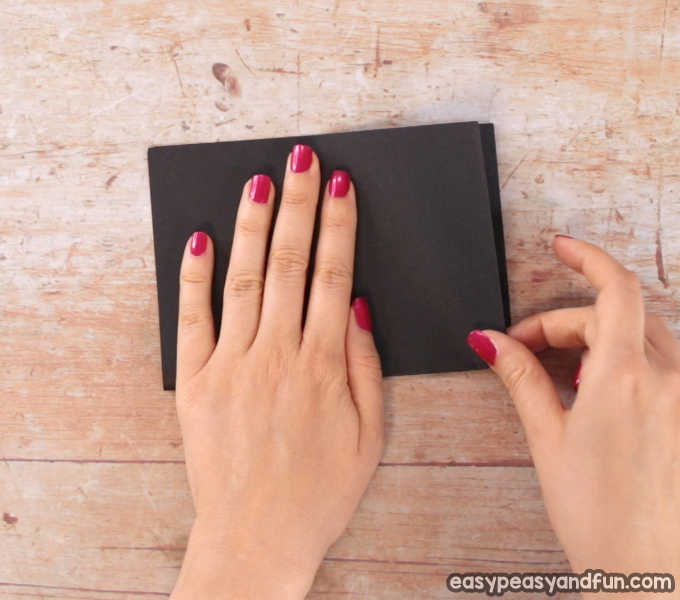
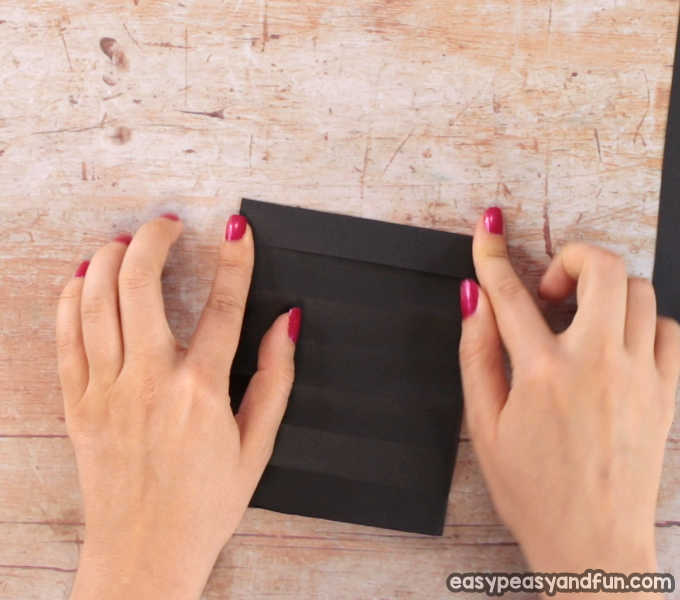
We will be making small bats (you can make them larger or even smaller). Start by folding a sheet of black paper in half.
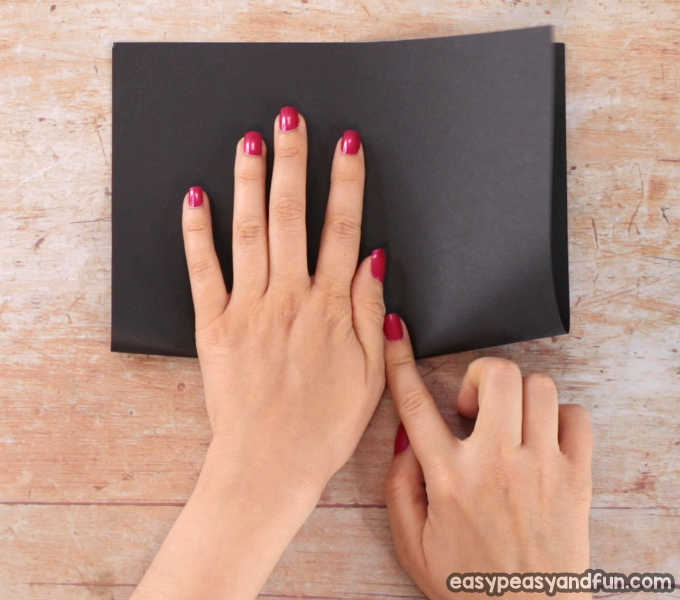
Fold in half again.
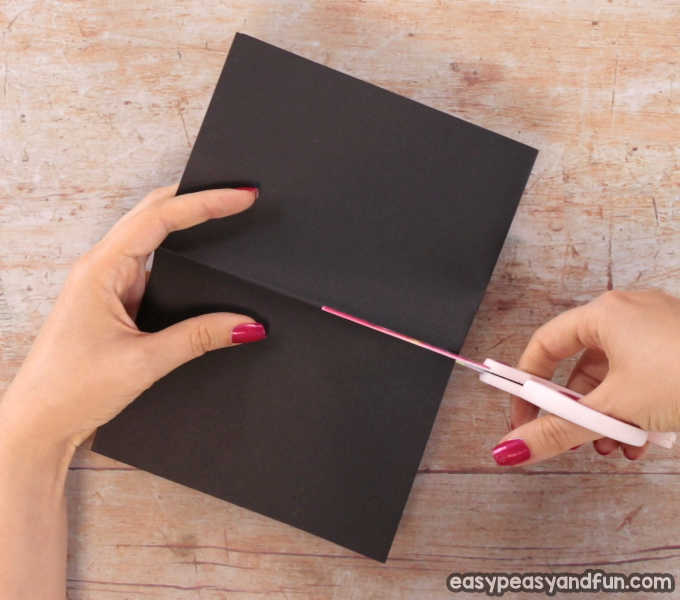
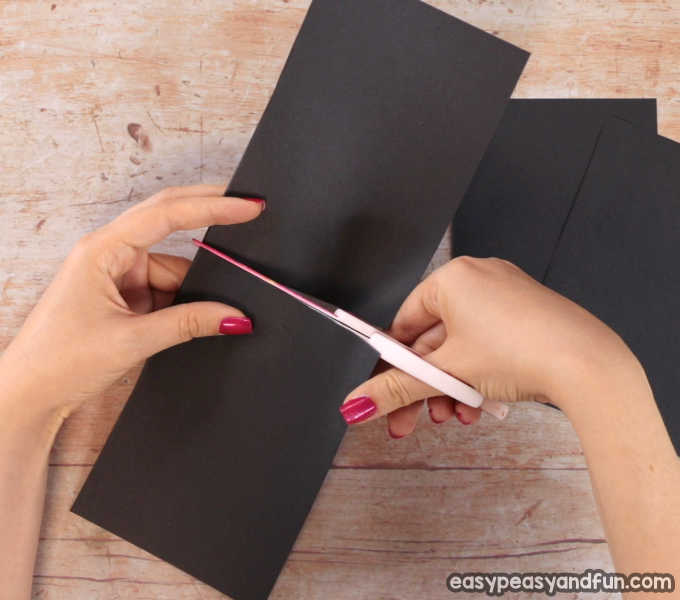
Now cut.

You need to cut the paper into 4 equal rectangles.
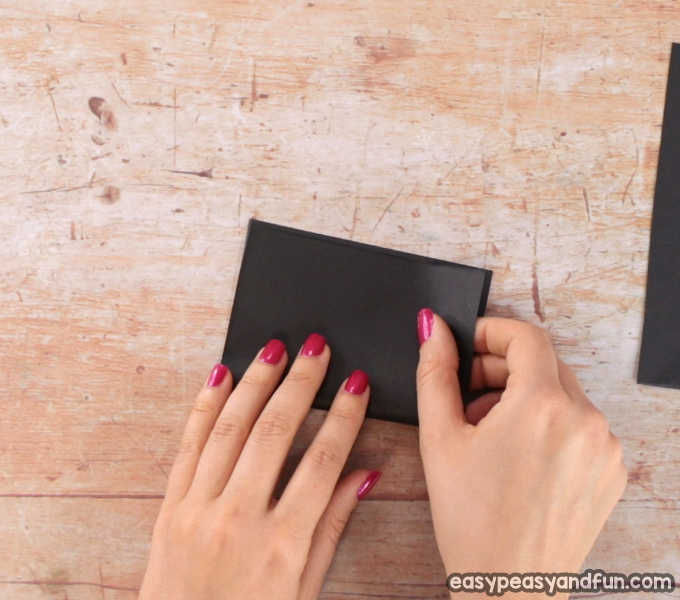
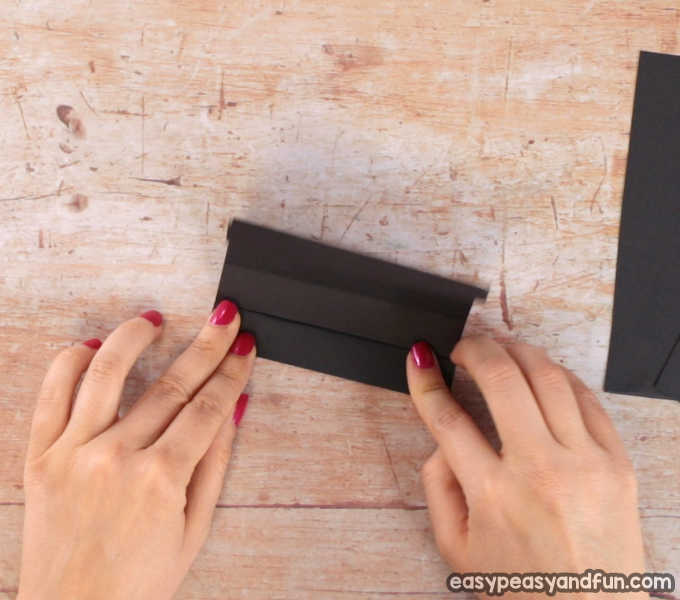
Now comes the folding. Take 3 of the 4 rectangles and fold them as follows.
Fold in half. Unfold.
Fold one of the folds towards the middle fold.
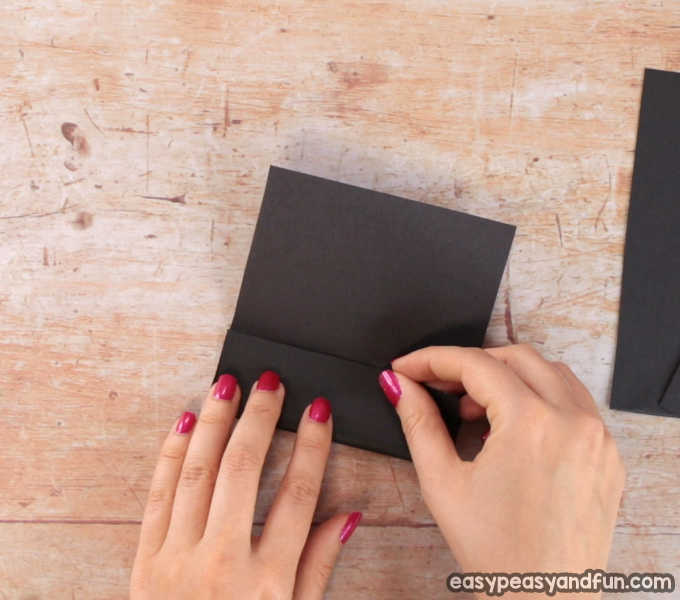
Do the same with the other one.
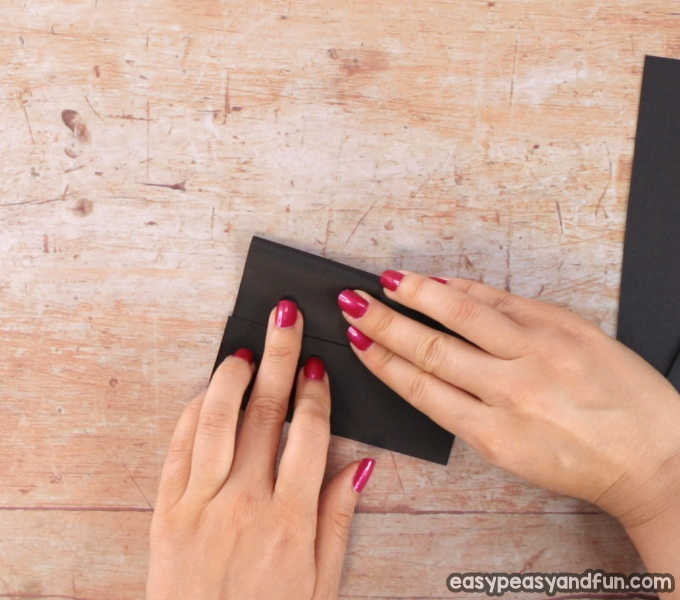
Now again, fold both sides towards the middle.
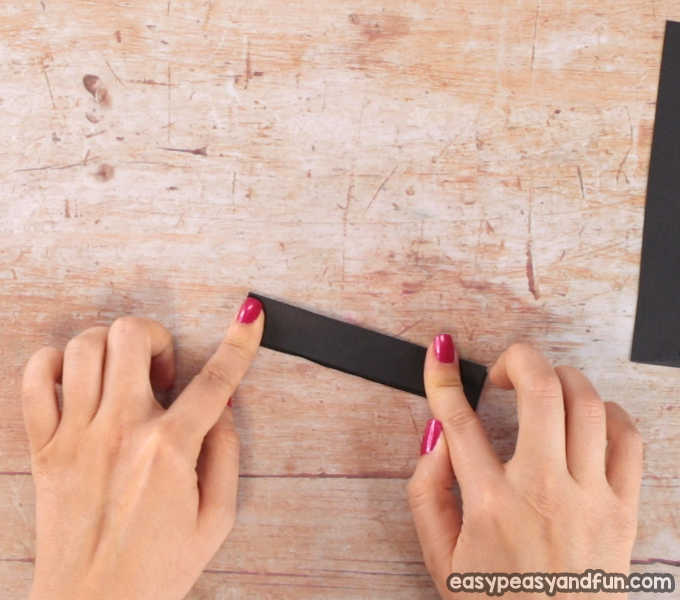
And one more time.

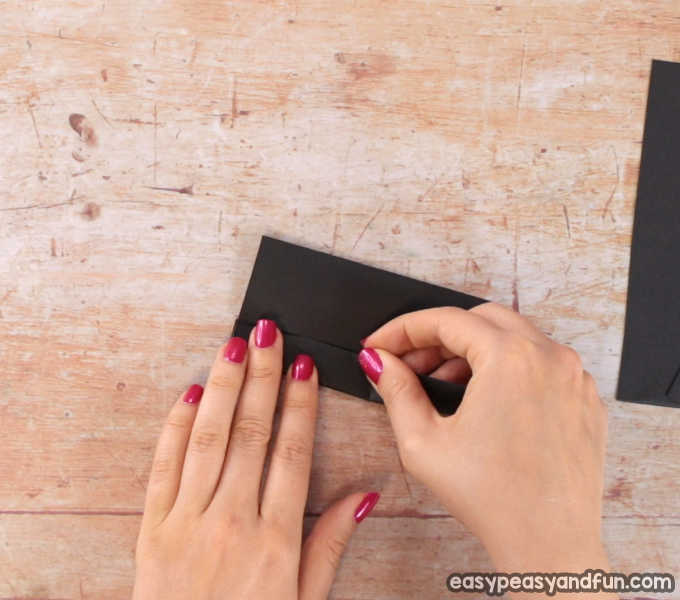
Unfold. You’ve got nice evenly spaced folds that will make folding this paper into an accordion easy peasy.
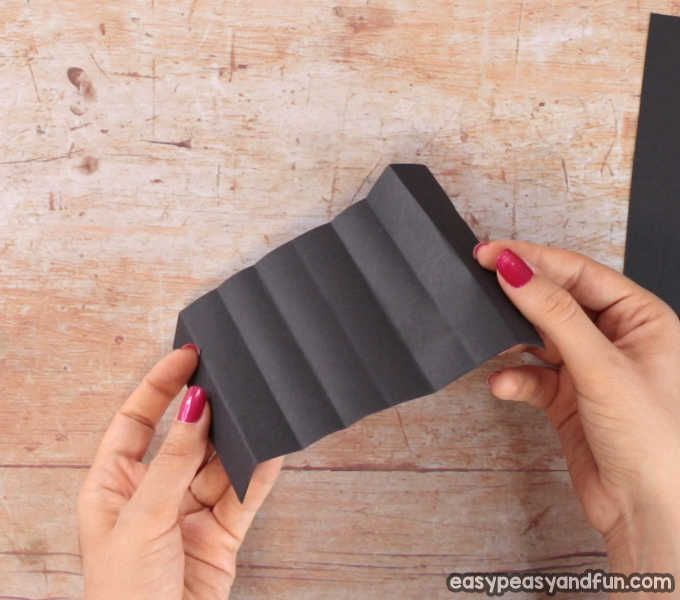
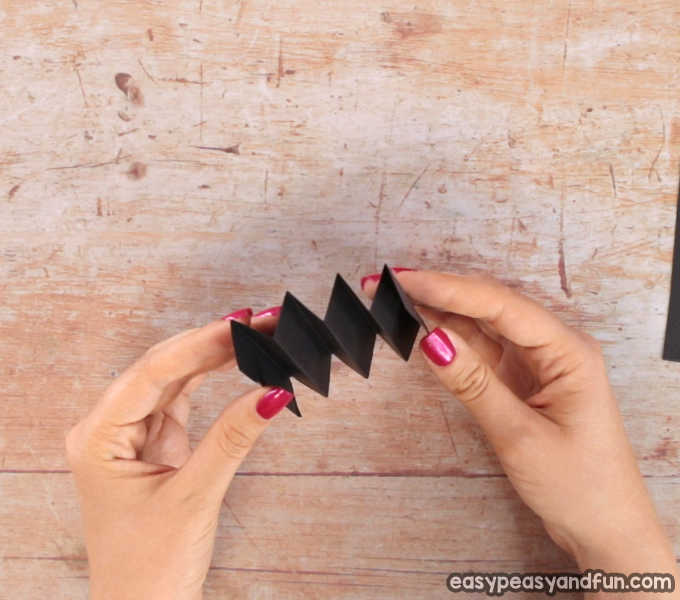
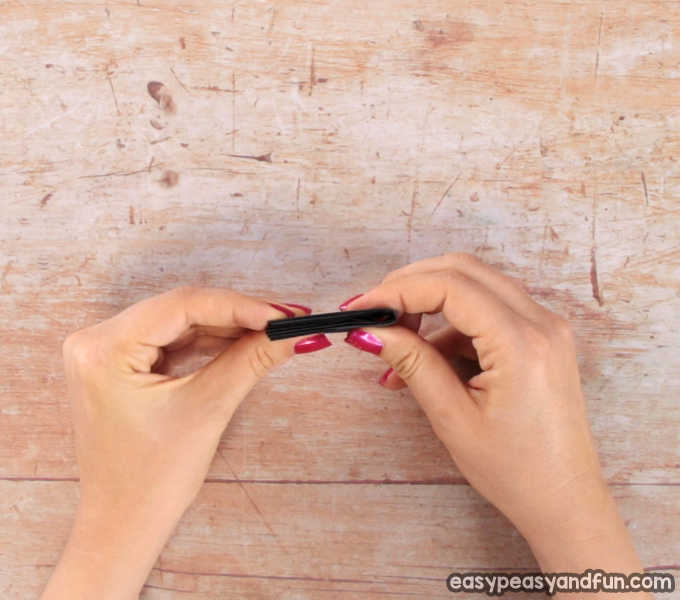
Fold into an accordion, switching valley and mountain folds.
All the way to the end.
Once you reach the end, press down firmly, run your fingers (or a craft stick) through the folds to make them crisper.
Gently pull apart to see if your accordion looks alright.
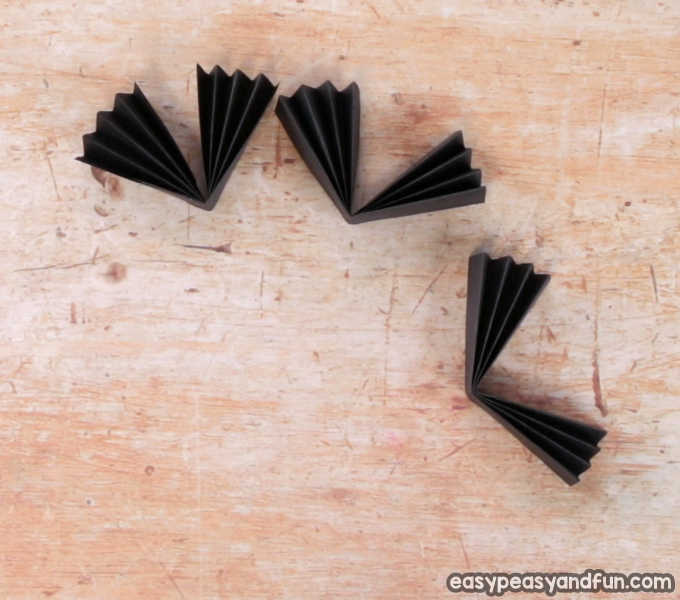
Now fold it back together into a “paper strip” and fold the paper strip in half.
Do the same with the other two papers so you get 3 accordions.
Tie the two of the 3 accordions together.
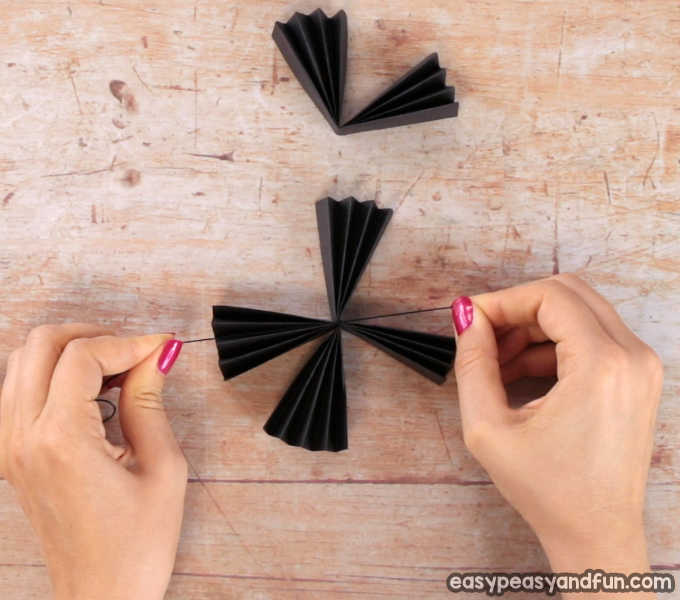
Tie the 3rd one to the first two.
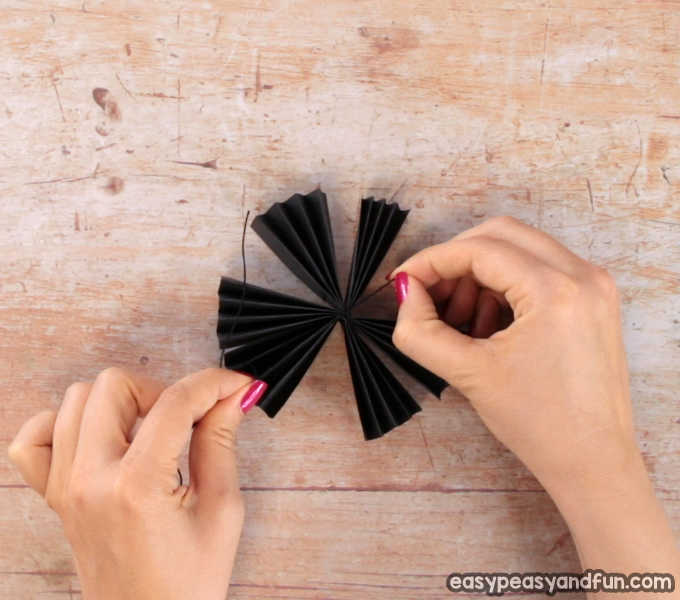
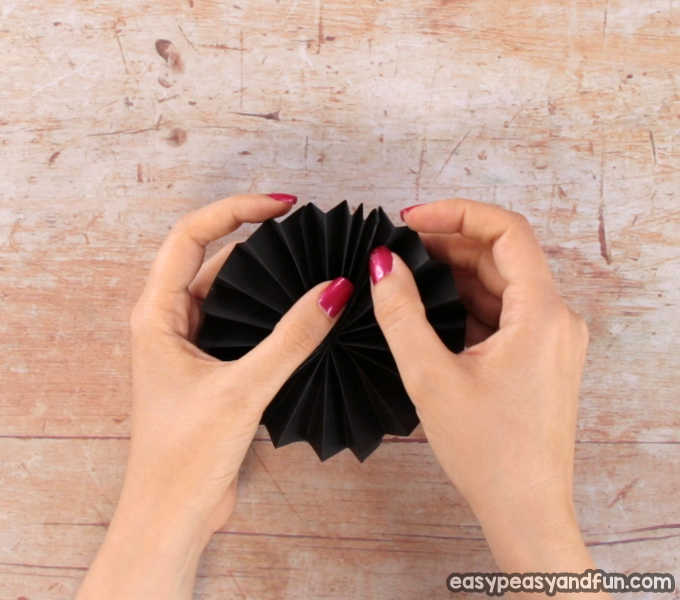
Glue them all together…
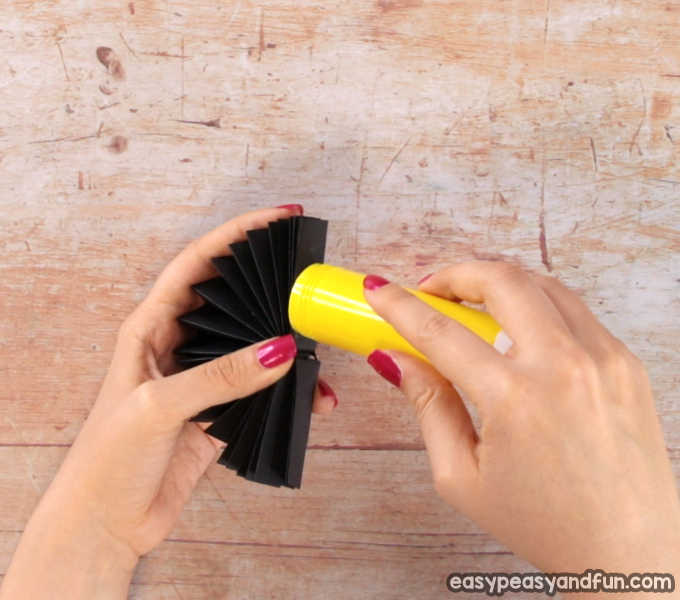
To make the paper rosette. Set aside.
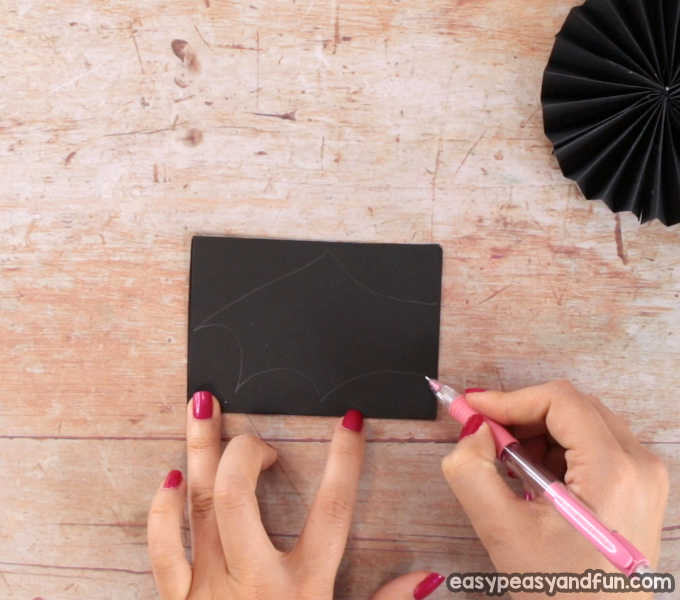
Take the remaining black paper and fold it in half.
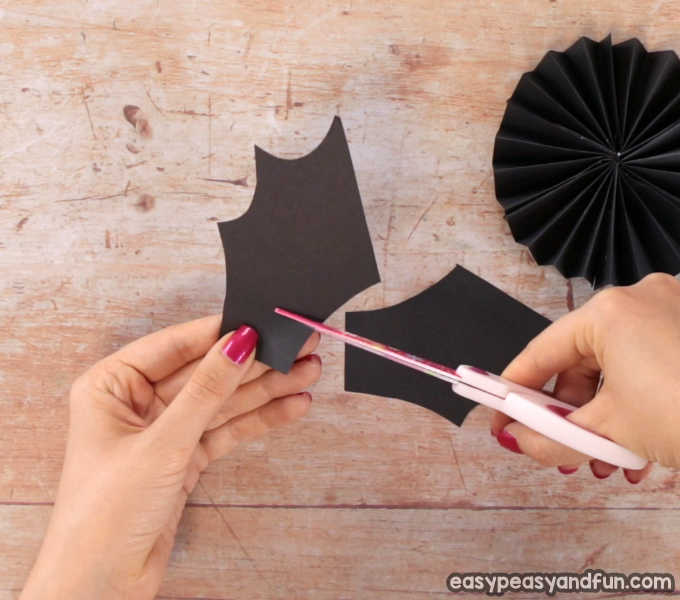
Draw a bat wing.
Cut out the 2 bat wings.
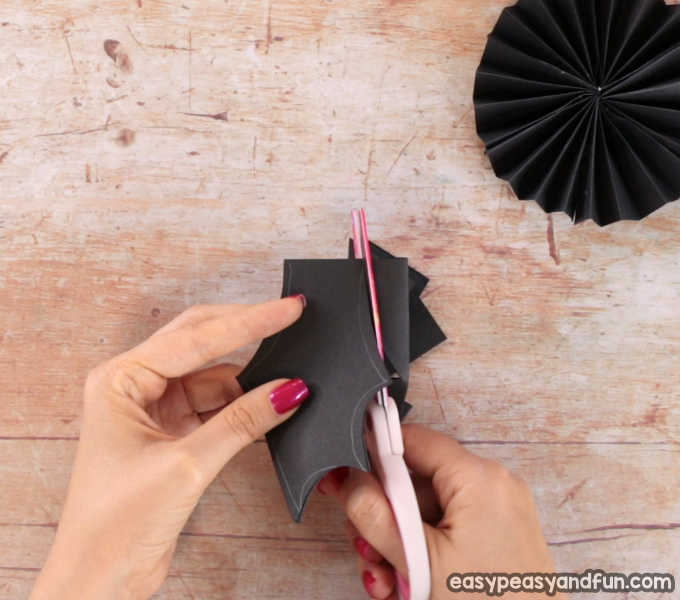
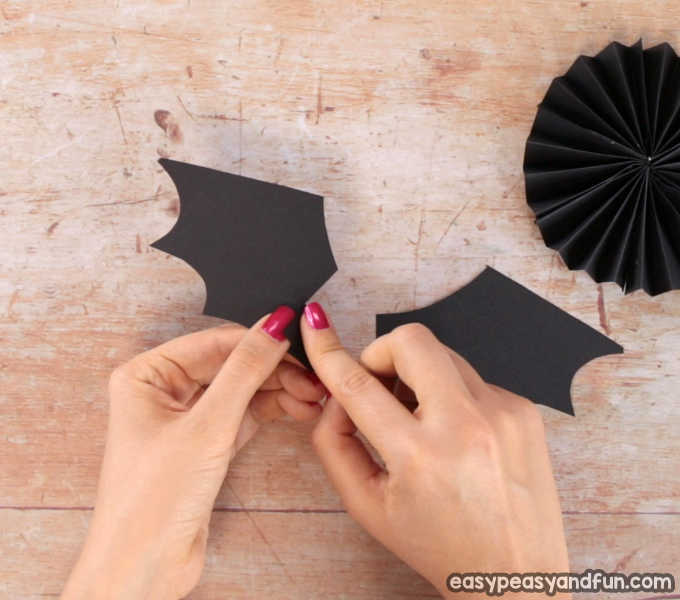
Cut a small slit on the wing as shown on the picture.
Fold along the slit.
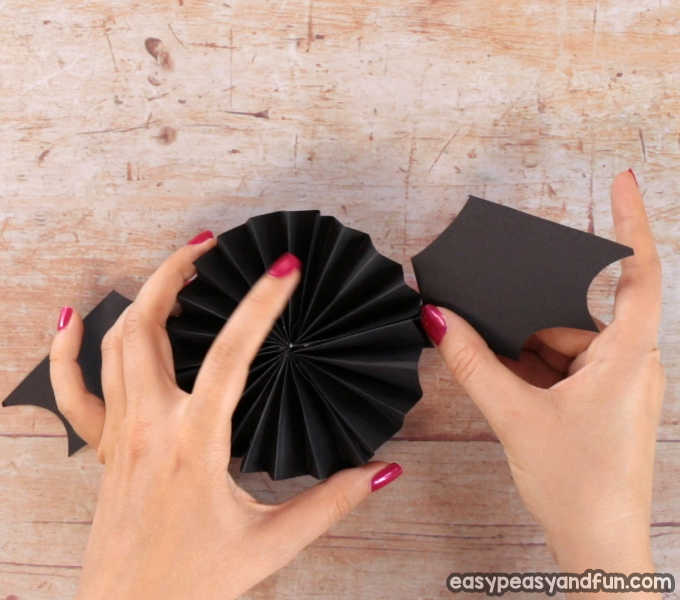
Apply glue on the slit.

And stick it on the paper rosette.
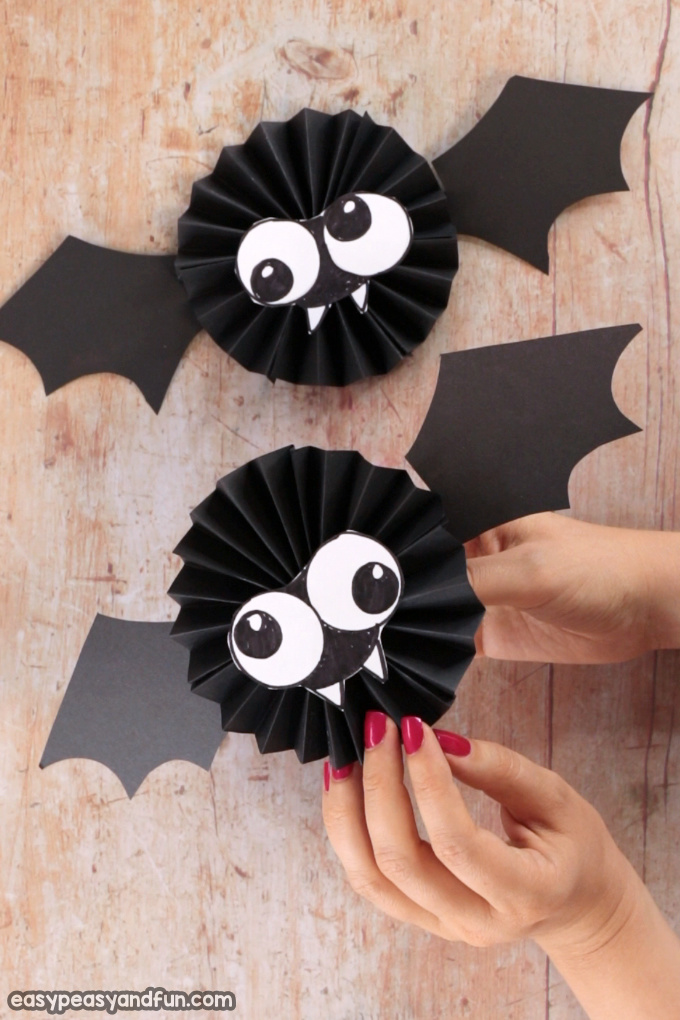
Draw two circles (we outlined the glue cap) for the eyes and teeth with the black marker.

Cut out the eyes and teeth and stick them on the Paper Rosette Bat Craft.
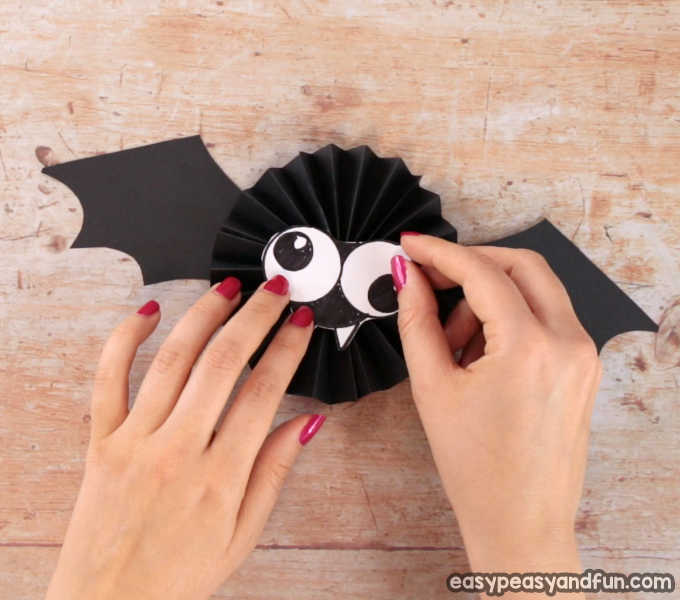
All done!
Want instant access to all of our printable crafts, activities, and resources?

With thousands of crafts, activities, worksheets, coloring pages, and drawing tutorials to print, you will always have just the resource you need at your disposal. Perfect for parents and teachers alike!