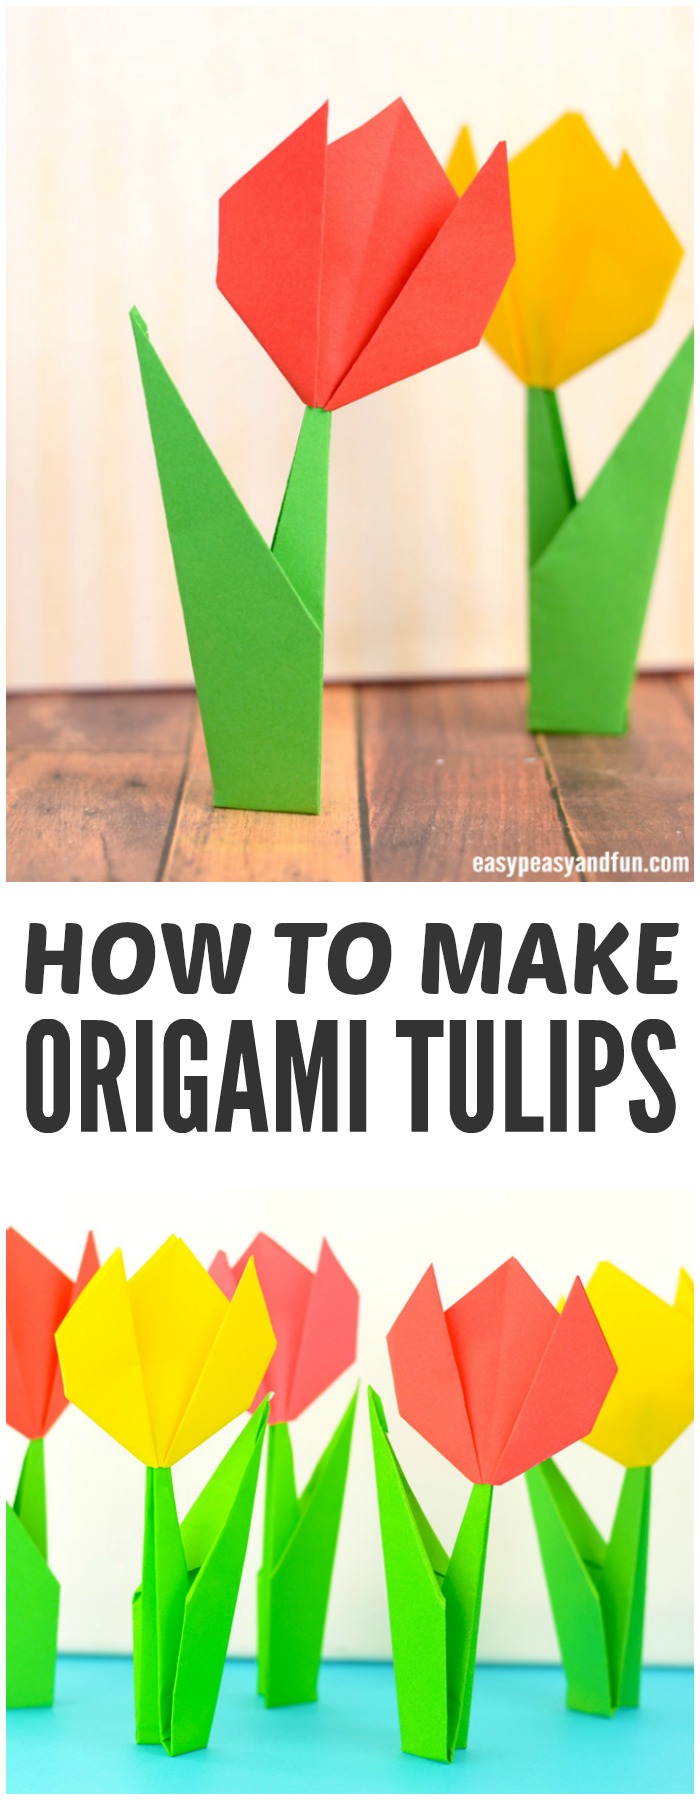
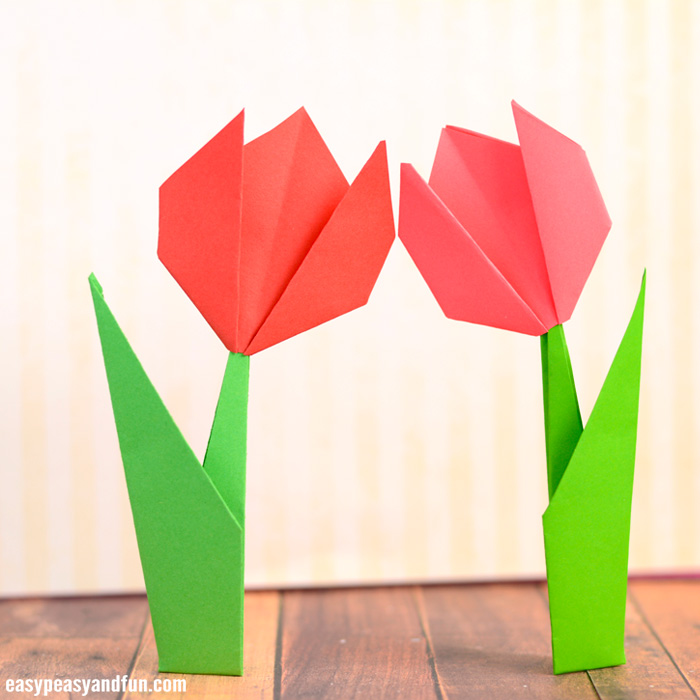
Learn how to make origami flowers – this origami tulip tutorial will teach you how to make a super easy flower that stands on it’s own!
You can modify this project to fit all ages, so it’s a great and easy origami for kids, even as young as preschoolers as they can only make the flower, without a stem, while older kids and kids at heart can make the whole project, with a flower stem.
 *this post contains affiliate links*
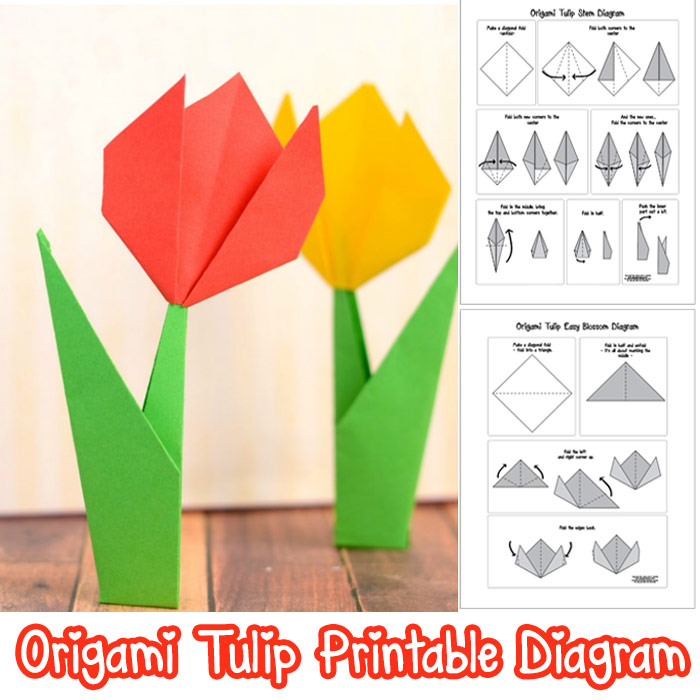
We’ve prepared a wonderful and easy to follow step by step tutorial for you, along with video instructions, a printable origami folding diagram and even a printable to get the paper sizes just right so there are many ways you can learn how to fold it.
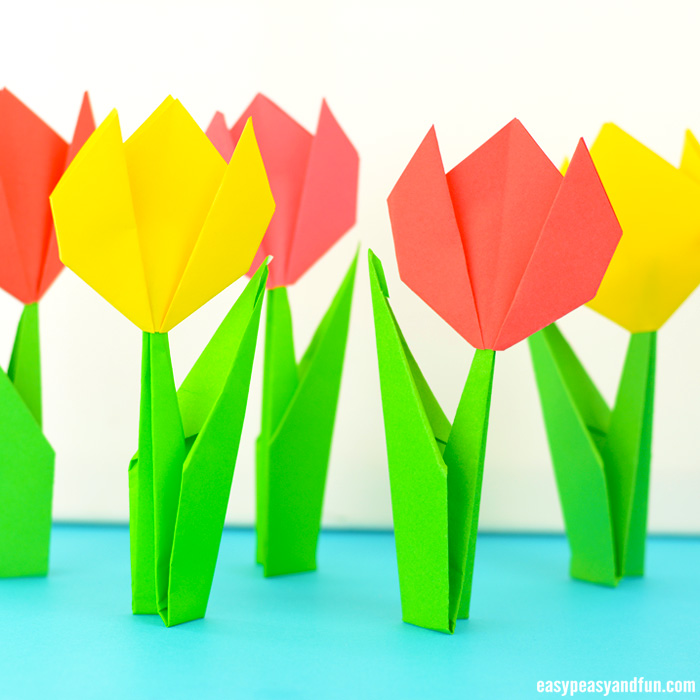
Tulips are the easiest origami flowers you can make and pretty enough to be a fun project for all ages. If you are working with preschoolers or kindergarten aged children, have them make just the flower, without a stem. You can have them stick the flower to a card base and have them make a wonderful origami card.
We do recommend using origami paper for any folding project, however you can just use regular print paper and can even have the kids decorate their own, if you decide to use our printable template?
Are you ready to make your own origami tulips? Let’s start folding!

How to Make Origami Flowers – Origami Tulip Tutorial with Diagram
What you need
- a small and large origami paper – we offer a printable template with the sizes that we used in our project and you can grab it bellow (along with the printable diagram that’s perfect to use in the classroom).
- scisors
- glue is optional
Watch the Video Tutorial
Or Follow These Step by Step Instructions
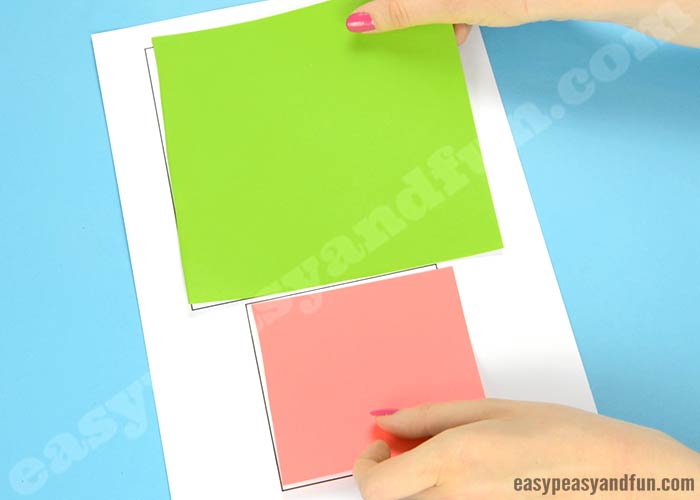
Prepare two origami papers – one small and one big. We offer a template with the dimensions that we used in our tutorial (you can find it at the end of this tutorial).
We also prepared a printable diagram you can print and make your origami flower wherever you want to (also great if you’ll be making these in the classroom). This too, can be fount at the end of this tutorial.
How to Make an Easy Origami Tulip Blossom
Start by making a origami tulip blossom. Fold the paper in half diagonally to form the triangle (colored side of paper on the outside).
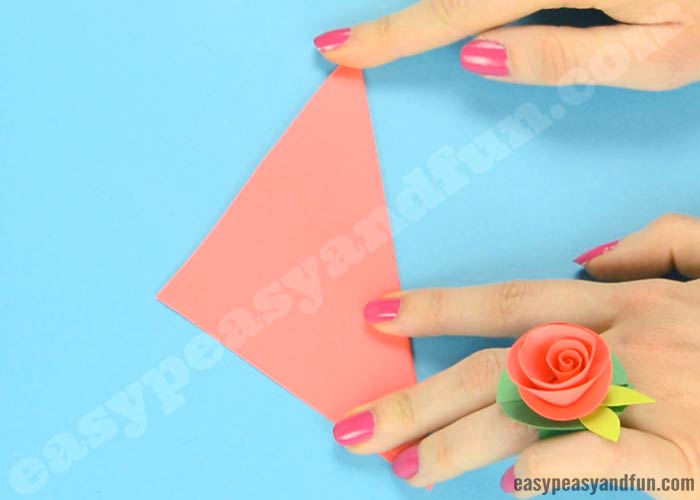 Fold in half again, just to make the crease right down the middle of your triangle and unfold.
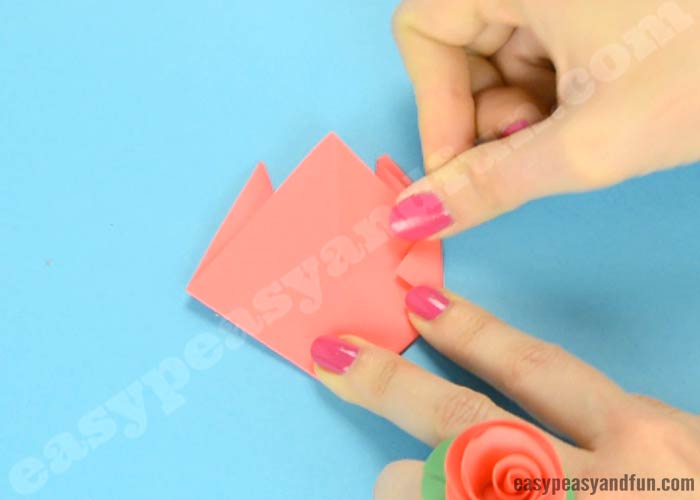
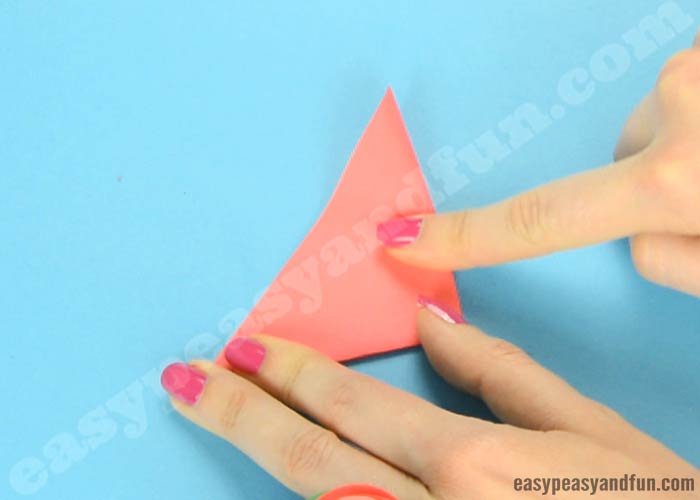 Grab one corner, we’ll start with the right one, and fold it upwards, not right to the center but at a slight angle.
 Do the same with the other side.
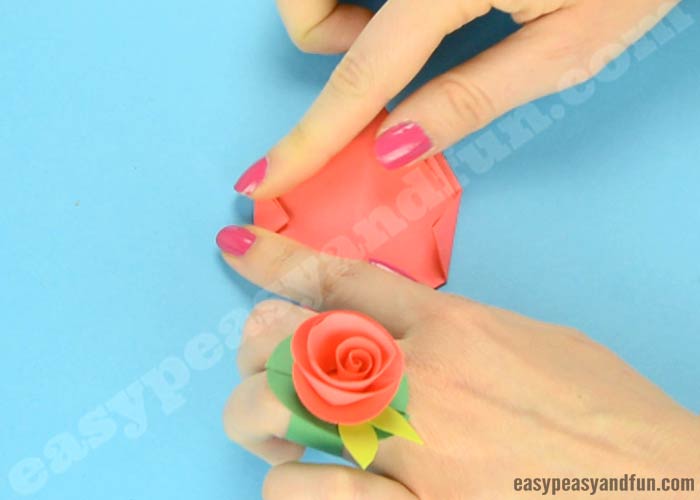
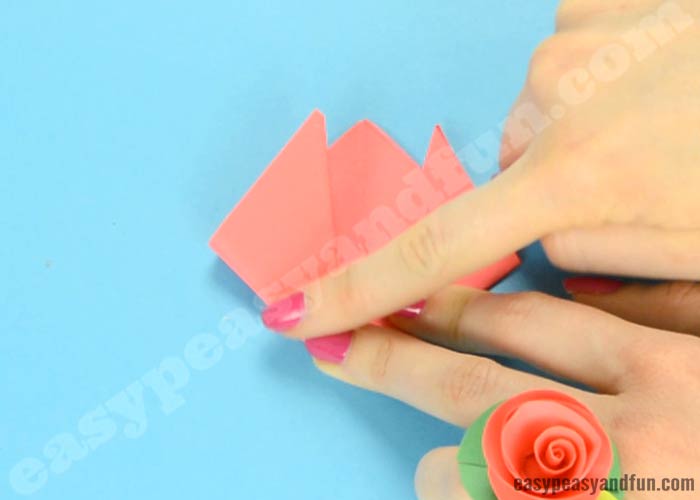 Your tulip blossom is almost done – just a bit of “pretty up” details. Flip your blossom and fold the side corners in – this will make your blossom shape more defined.
 Do it with both sides and you are done!
If you are making this origami flower with younger kids, this is where you stop as stem is a bit more advanced.
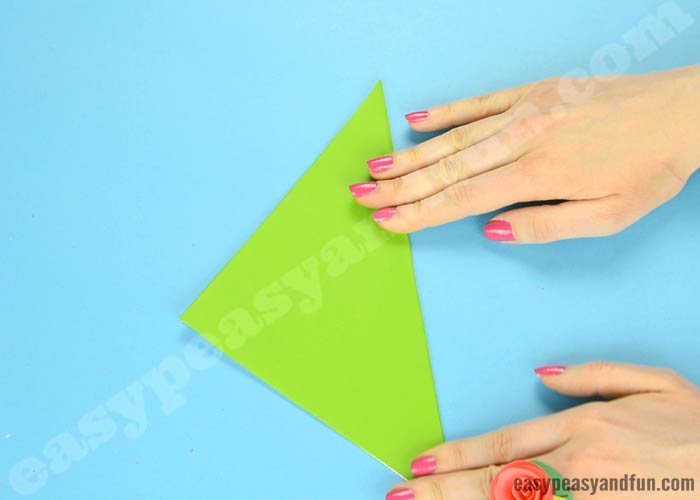
How to Make an Easy Origami Flower Stem
Start by folding a larger sheet of green origami paper diagonally to get a triangle shape, unfold. We did this step to mark the diagonal center.
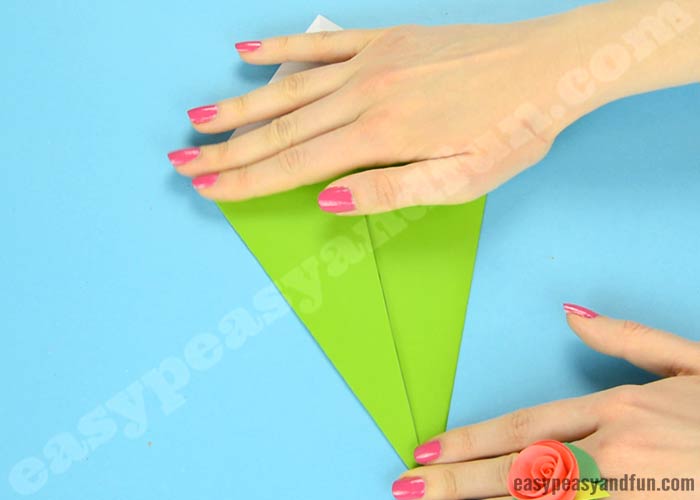
 Fold the corners to the middle (middle is indicated by the diagonal fold you previously made).
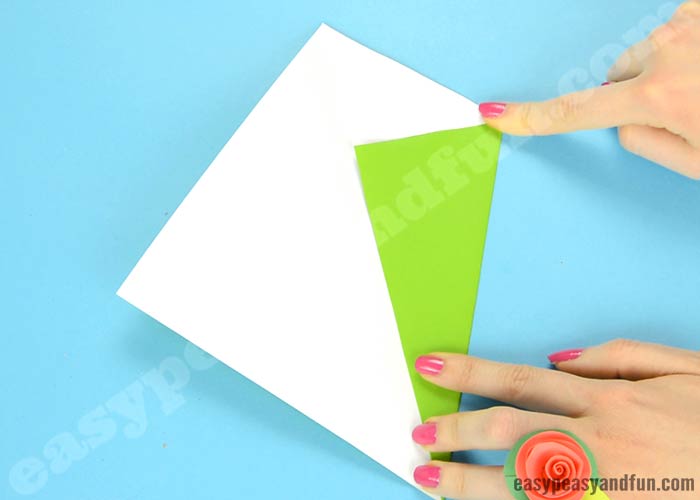 Fold both corner to the middle. Make sharp and crisp folds.
 Next fold the two new corners you got in the previous step to the middle again.
 Again, make sure the folds are nice and crisp.
 This is how your shape should look by now.
 You see the two new corners? We have to fold these two to the middle again. Nice and easy.
 Fold both of them and this is the shape that you should be seeing.
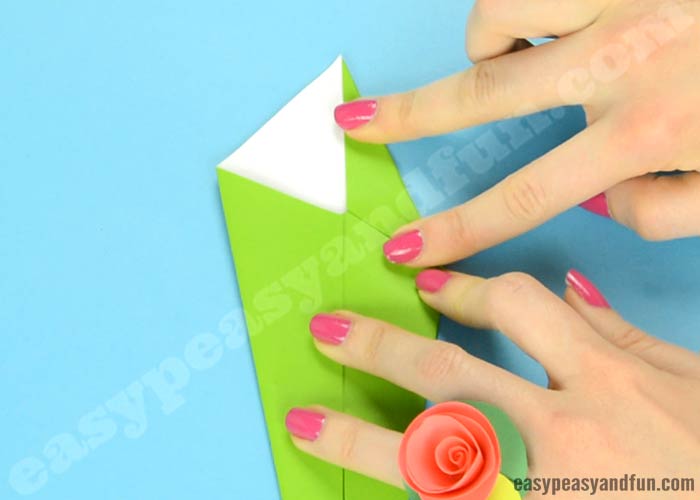
 Almost there! You have to fold your diamond shape in half not, bringing the top and bottom corners together.
 Close it up – fold the shape in half (the smaller part needs to be inside)
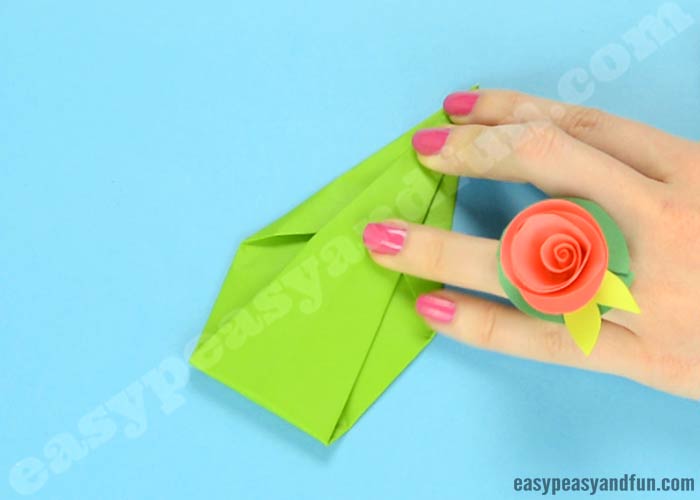
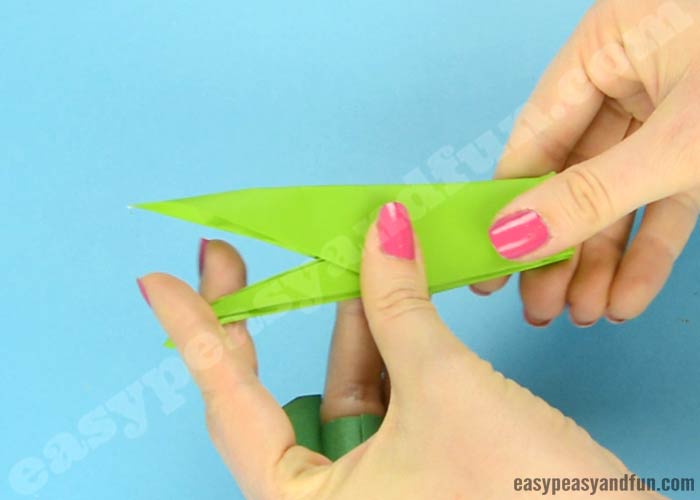
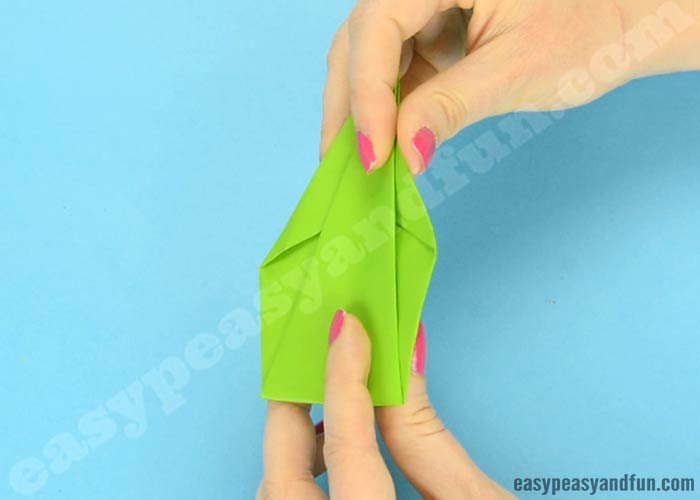 All done! All that’s left to do, is to push the inner “spike” out a little bit and run your fingers over all the folds to make them super crisp.
 How to Assemble the Origami Tulip
This part is not exactly origami as some minor cutting is involved but it is what is required to put these two parts together to make the most wonderful origami flower. Cut off a small amount of bottom of your origami tulip blossom. Spread the flower apart a little (you can do it as simply as pushing your finger from the top – so that the hole widens a bit.
Push the blossom on the stem. All done! Your origami tulip is ready for display.
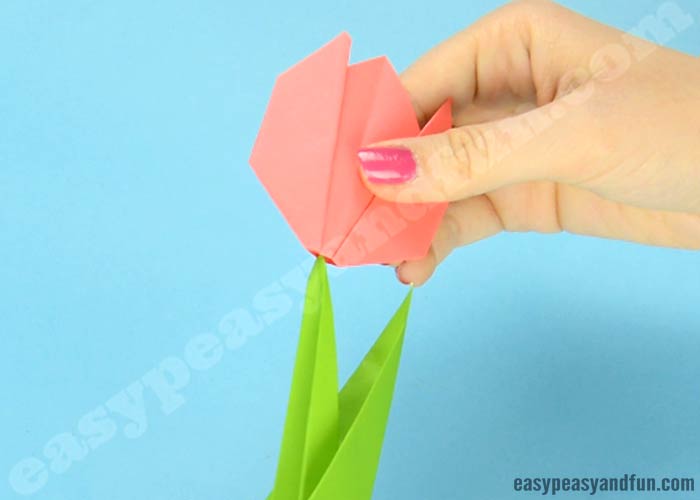 The blossom can easily be removed from the stem, if you want a more permanent solution a dab of glue will do.
 Get the Origami Tulip Template and Tutorial with Diagram
Origami tulip paper sizes and diagram
Happy crafting.
Want instant access to all of our printable crafts, activities, and resources?

With thousands of crafts, activities, worksheets, coloring pages, and drawing tutorials to print, you will always have just the resource you need at your disposal. Perfect for parents and teachers alike!