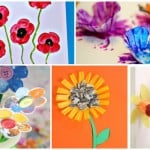
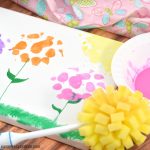
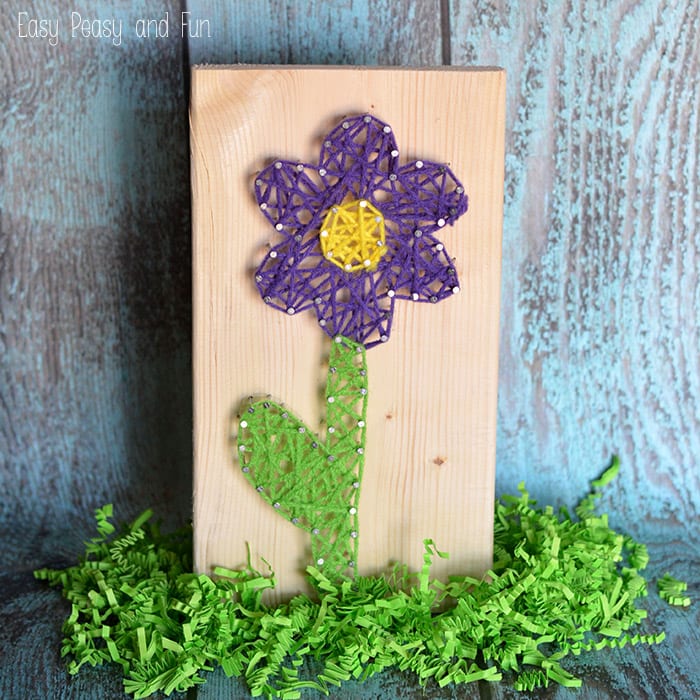
Making string art can be extremely relaxing and mesmerizing. This form of art isn’t reserved just for big kids, this flower string art is perfect for younger kids to make and it looks adorable.
This string art project uses yarn as it’s better suited for smaller hands, if you’re making string art with bigger kids you can swap that with, well string.
 *this post contains affiliate links*
This one is a lovely spring project, perfect for rainy days or those days that you just need to switch off and calm down.
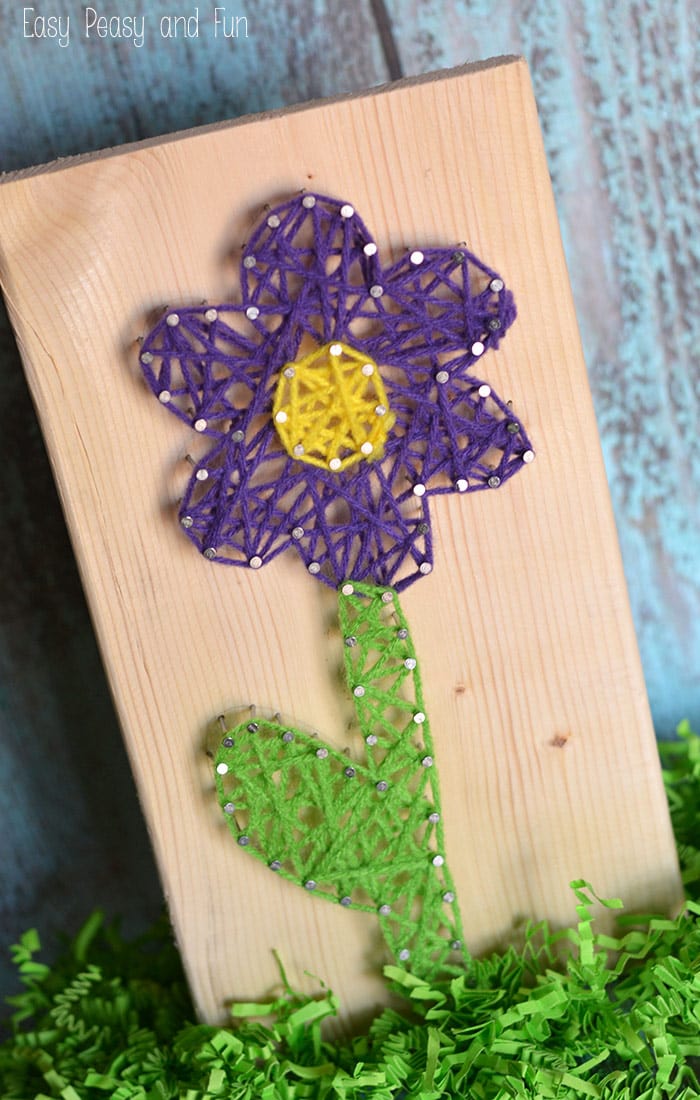
Flower String Art
What you need
- wood board (soft wood like pine is best for the little ones) – shown measures 5″ x 10″ x1/2″
- wire nails (used 18x 3/4″)
- tack hammer
- yarn – Red Heart in Bright Yellow Color, Red Heart in Spring Green Color and Bernat in Light Damson Color were used
- pencil
- scissors
Use a pencil to lightly draw a flower outline onto your board. Leave about 1/2″ space between the edge of the board and the edge of the flower.
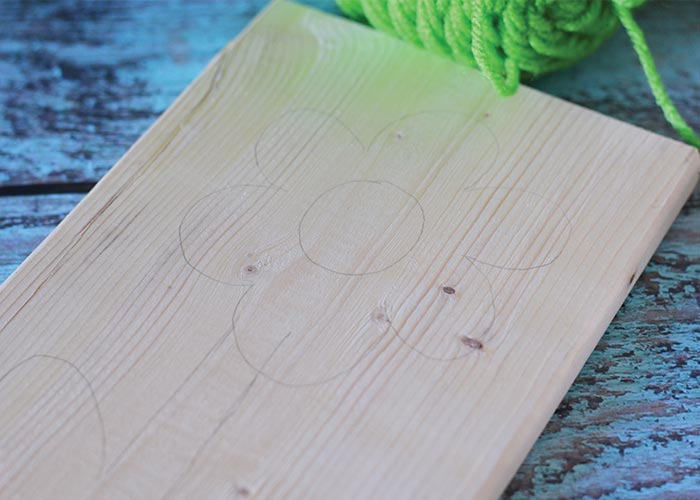
Begin to pound your nails. Start in the center of the flower and follow the pencil circle, older kids can do it by themselves, younger ones will need some assistance. Pound your nails about half way into the wood. Space them about 1/2″ – 3/4″ apart.
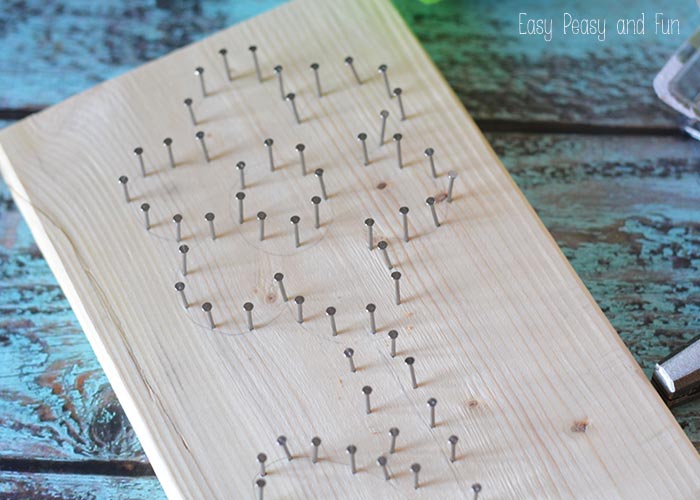
Continue with the flower petals and the stem and leaf.
Wash your hands to remove the metal ewww on them from all of the nails.
Begin to string your flower. Start with the Purple, followed by yellow center.

Begin to string your board. Tie your yarn around one petal nail, and double knot it.
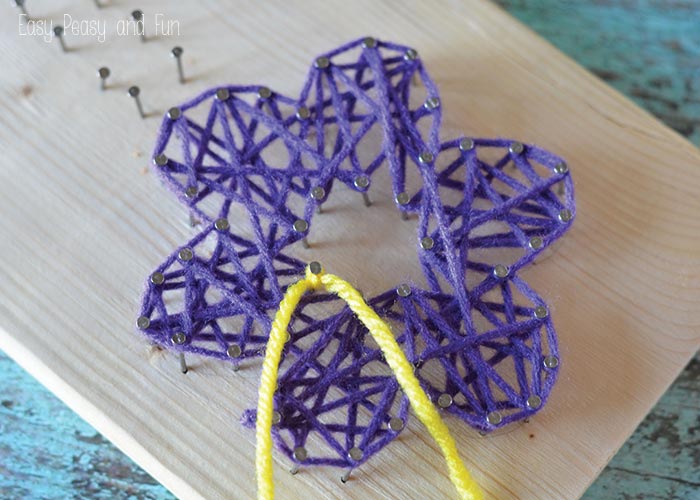
There’s no right or wrong way to string a board – but zig zagging and skipping around at least every other nail usually looks best.
Once you’re happy with the way the petals look, begin the outline. Start at one nail and carry the yarn to the next, wrapping it around the entire nail head. When finished, bring your string back to the starting point and tie the two strings together. Trim strings.
Continue with the yellow center, and finish with the green stem. Follow the same instructions, zig zag, then outline, then trim.
The hiccups you will encounter are: you’ll be strolling along, wrapping yarn around nail heads and all of the sudden one will slip halfway off. Try to slide it back on or remove the yarn so you can fix it. The other frustration will be when you’re stringing along and all of the sudden the string just seems to come off several nails! I prevent this, you need to wrap the string around the entire nail head about every 5th nail. (Does that make sense? String five nails, wrap yarn all the way around the head, and continue on).

Want instant access to all of our printable crafts, activities, and resources?

With thousands of crafts, activities, worksheets, coloring pages, and drawing tutorials to print, you will always have just the resource you need at your disposal. Perfect for parents and teachers alike!